
A beautiful manicure will attract the attention of others to the hands, make the image original. Butterflies on nails are one of the most popular options for summer. Its big plus: you can apply the drawing yourself, and do without going to a beauty salon.
Do you want to know all the secrets? To make it more convenient for you, at the end of the article there is a video describing the whole process in detail.
Content:
Decor features
This design has several features that we will look at next to make the image perfect:
- The color should match the base.
- Choose harmonious color combinations, avoiding combining opposite shades.
- Leave the decor light - don't attach too much sequins and rhinestones to the decor.
- Do not repeat the directions on the two hands, they must be different.
- In order not to lose the beauty of the pattern, do not paint large flowers on adjacent plates.
- Apply on one finger, so as not to make the created look boring and unnecessarily variegated.


A few words about color
Let's talk about which color is better to choose. Butterflies are painted in summer or spring. To create an image, it is more appropriate to choose pastel or flesh tones. The main design goal is to stand out from the base background, so the color should be subtle.
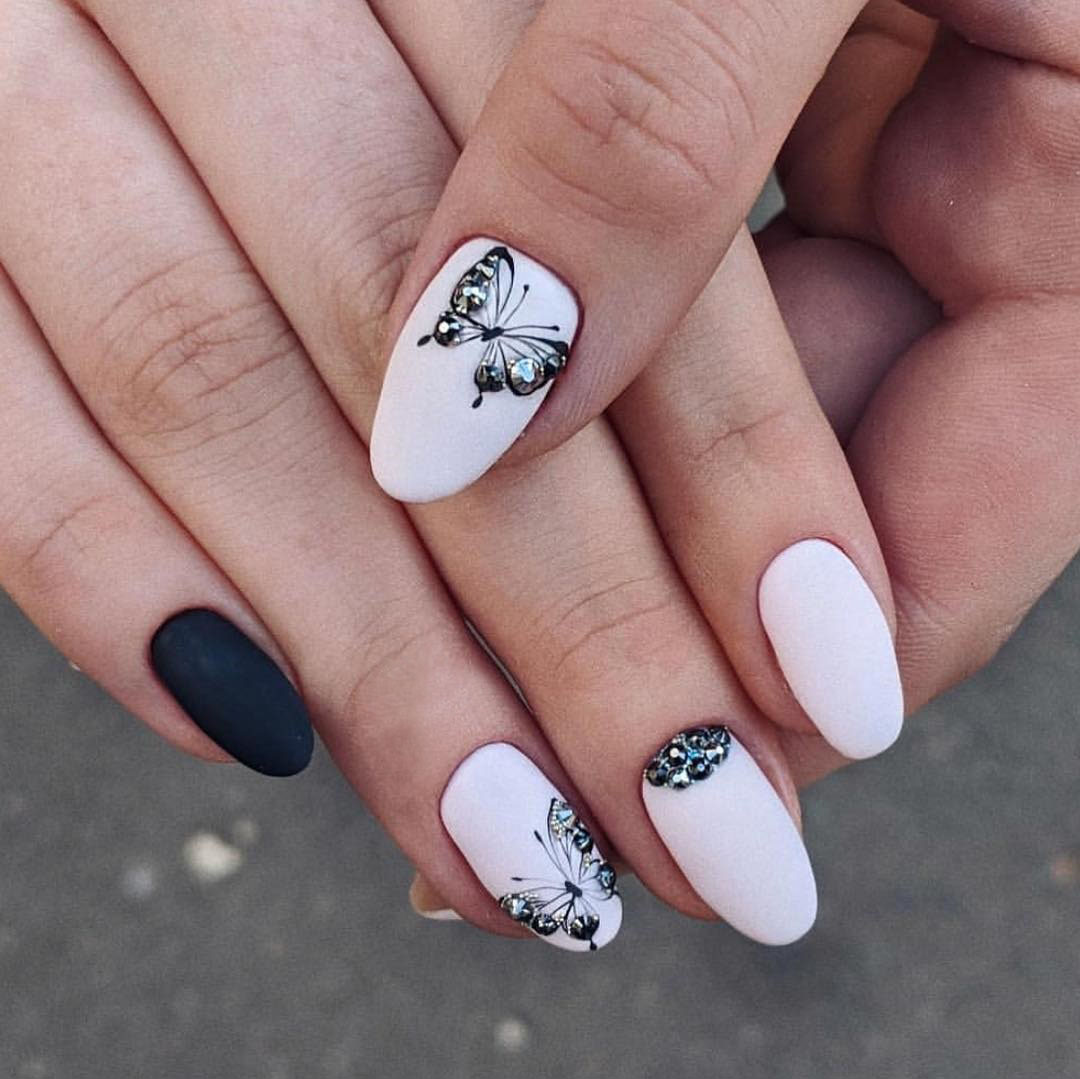
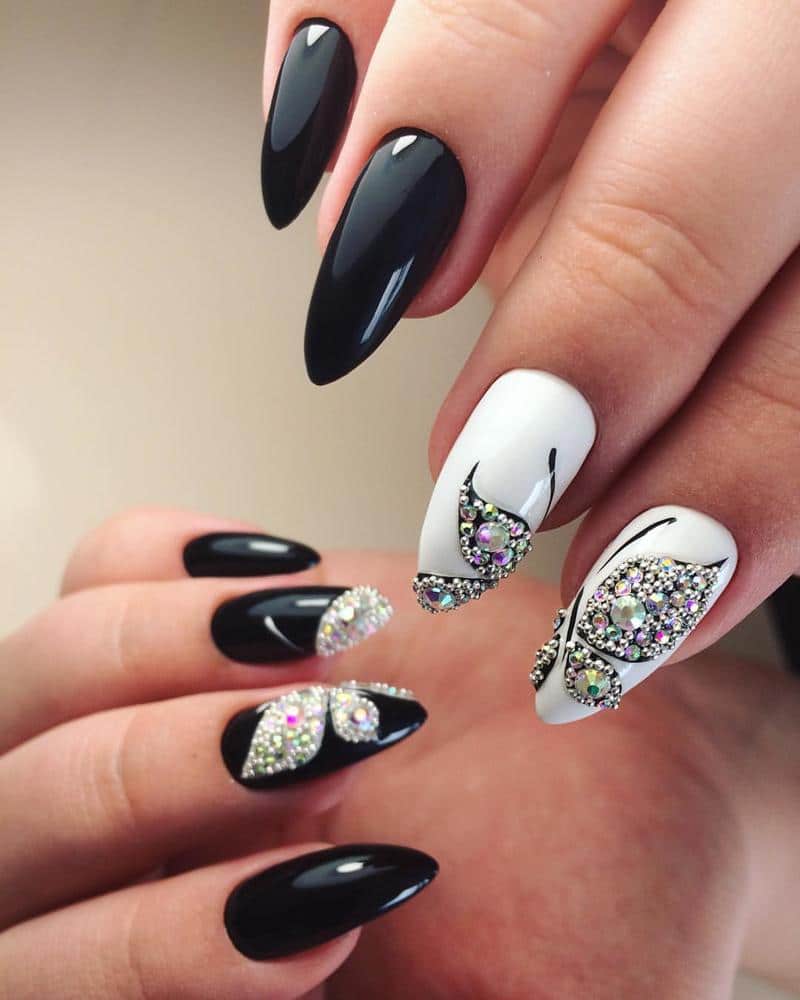
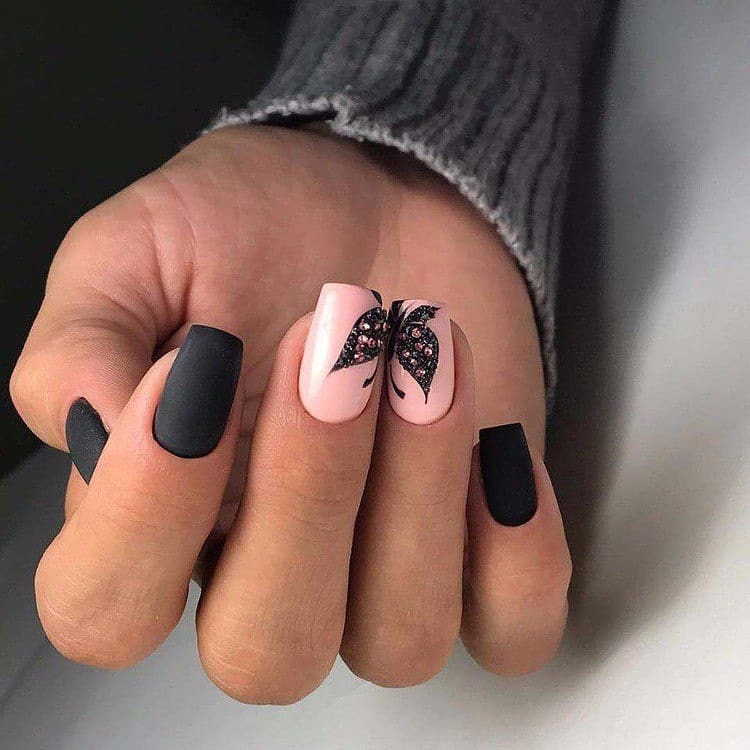
Neutral colors are just as appropriate as the classic black and white combination. This tandem is considered universal and suitable for different styles of clothing. H
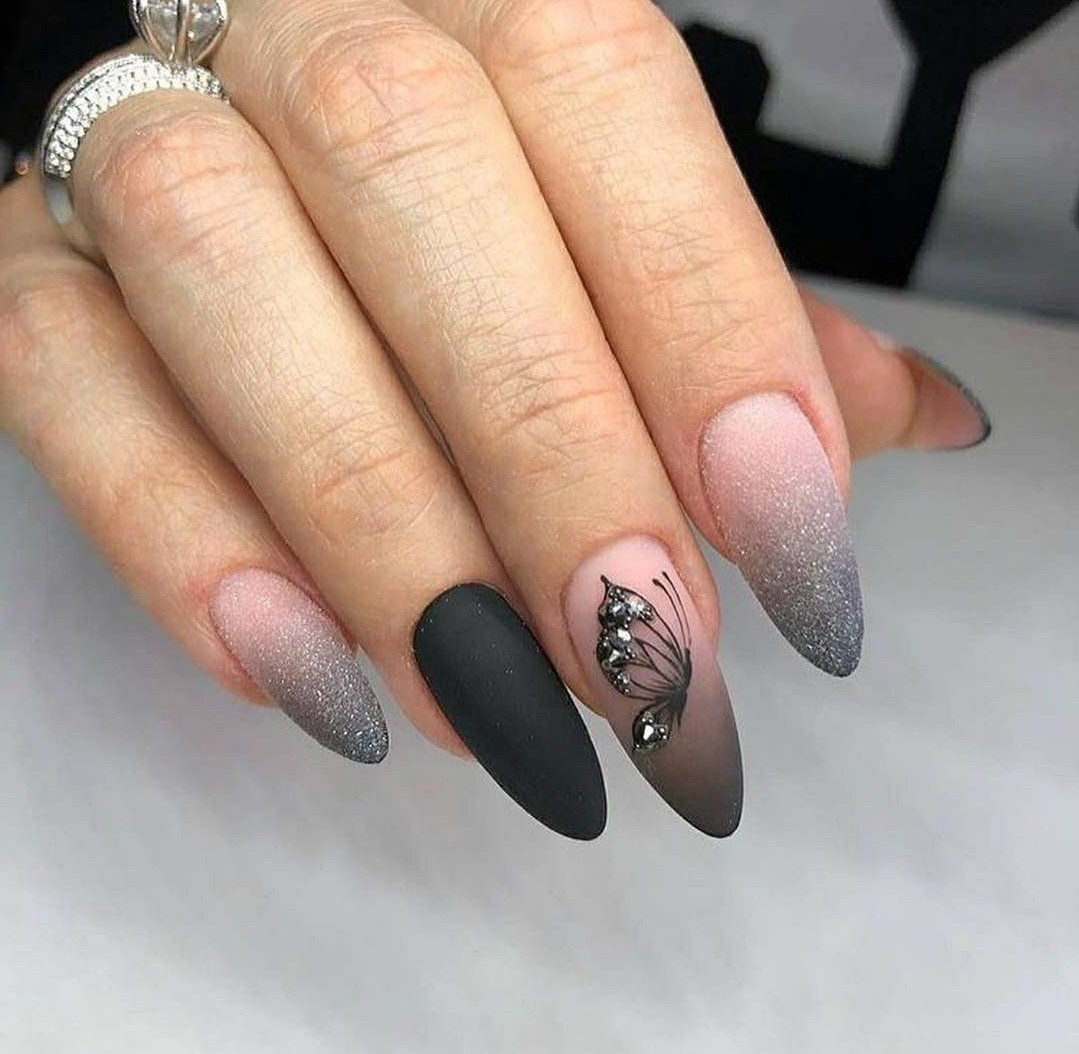
Neutrals blend harmoniously with accessories. A spectacular option is a silver and white butterfly on a black base.
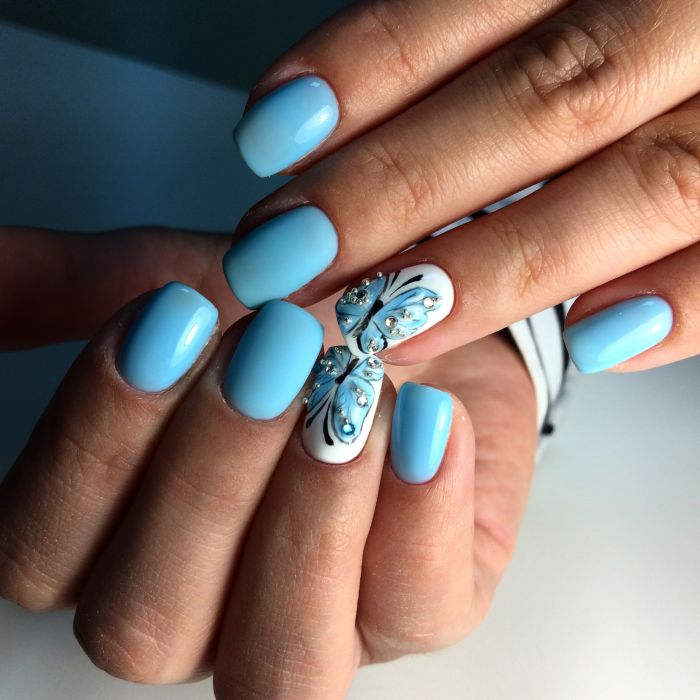
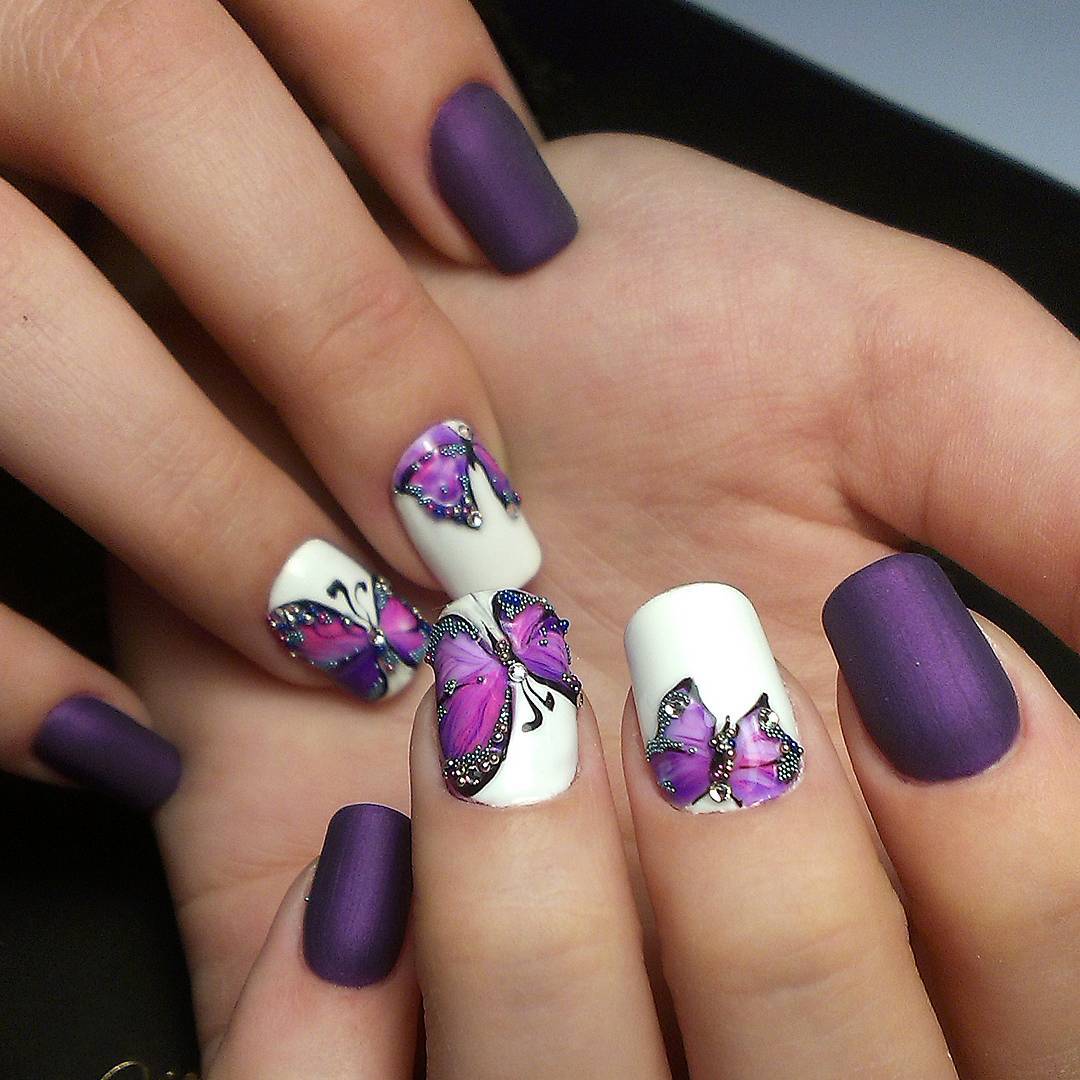
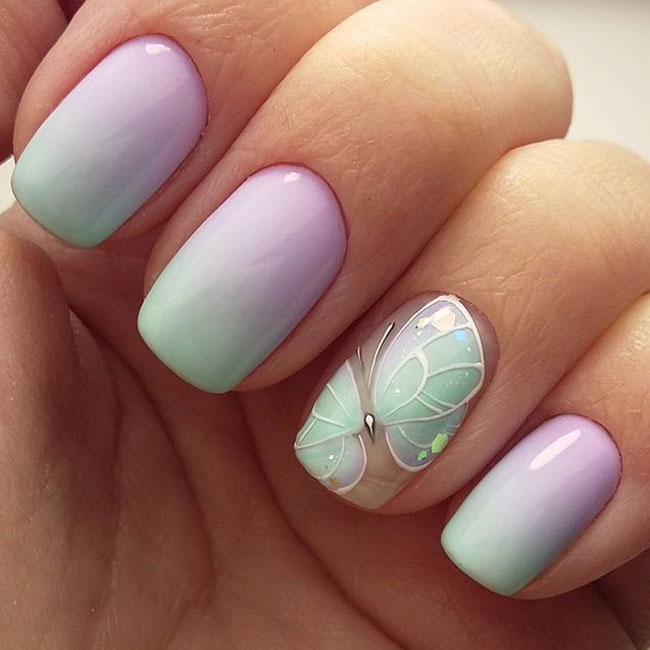
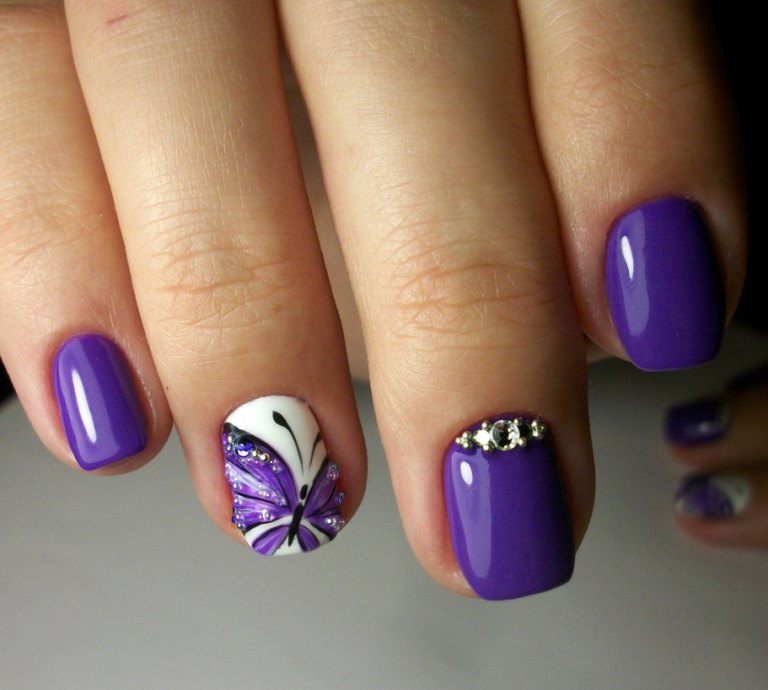
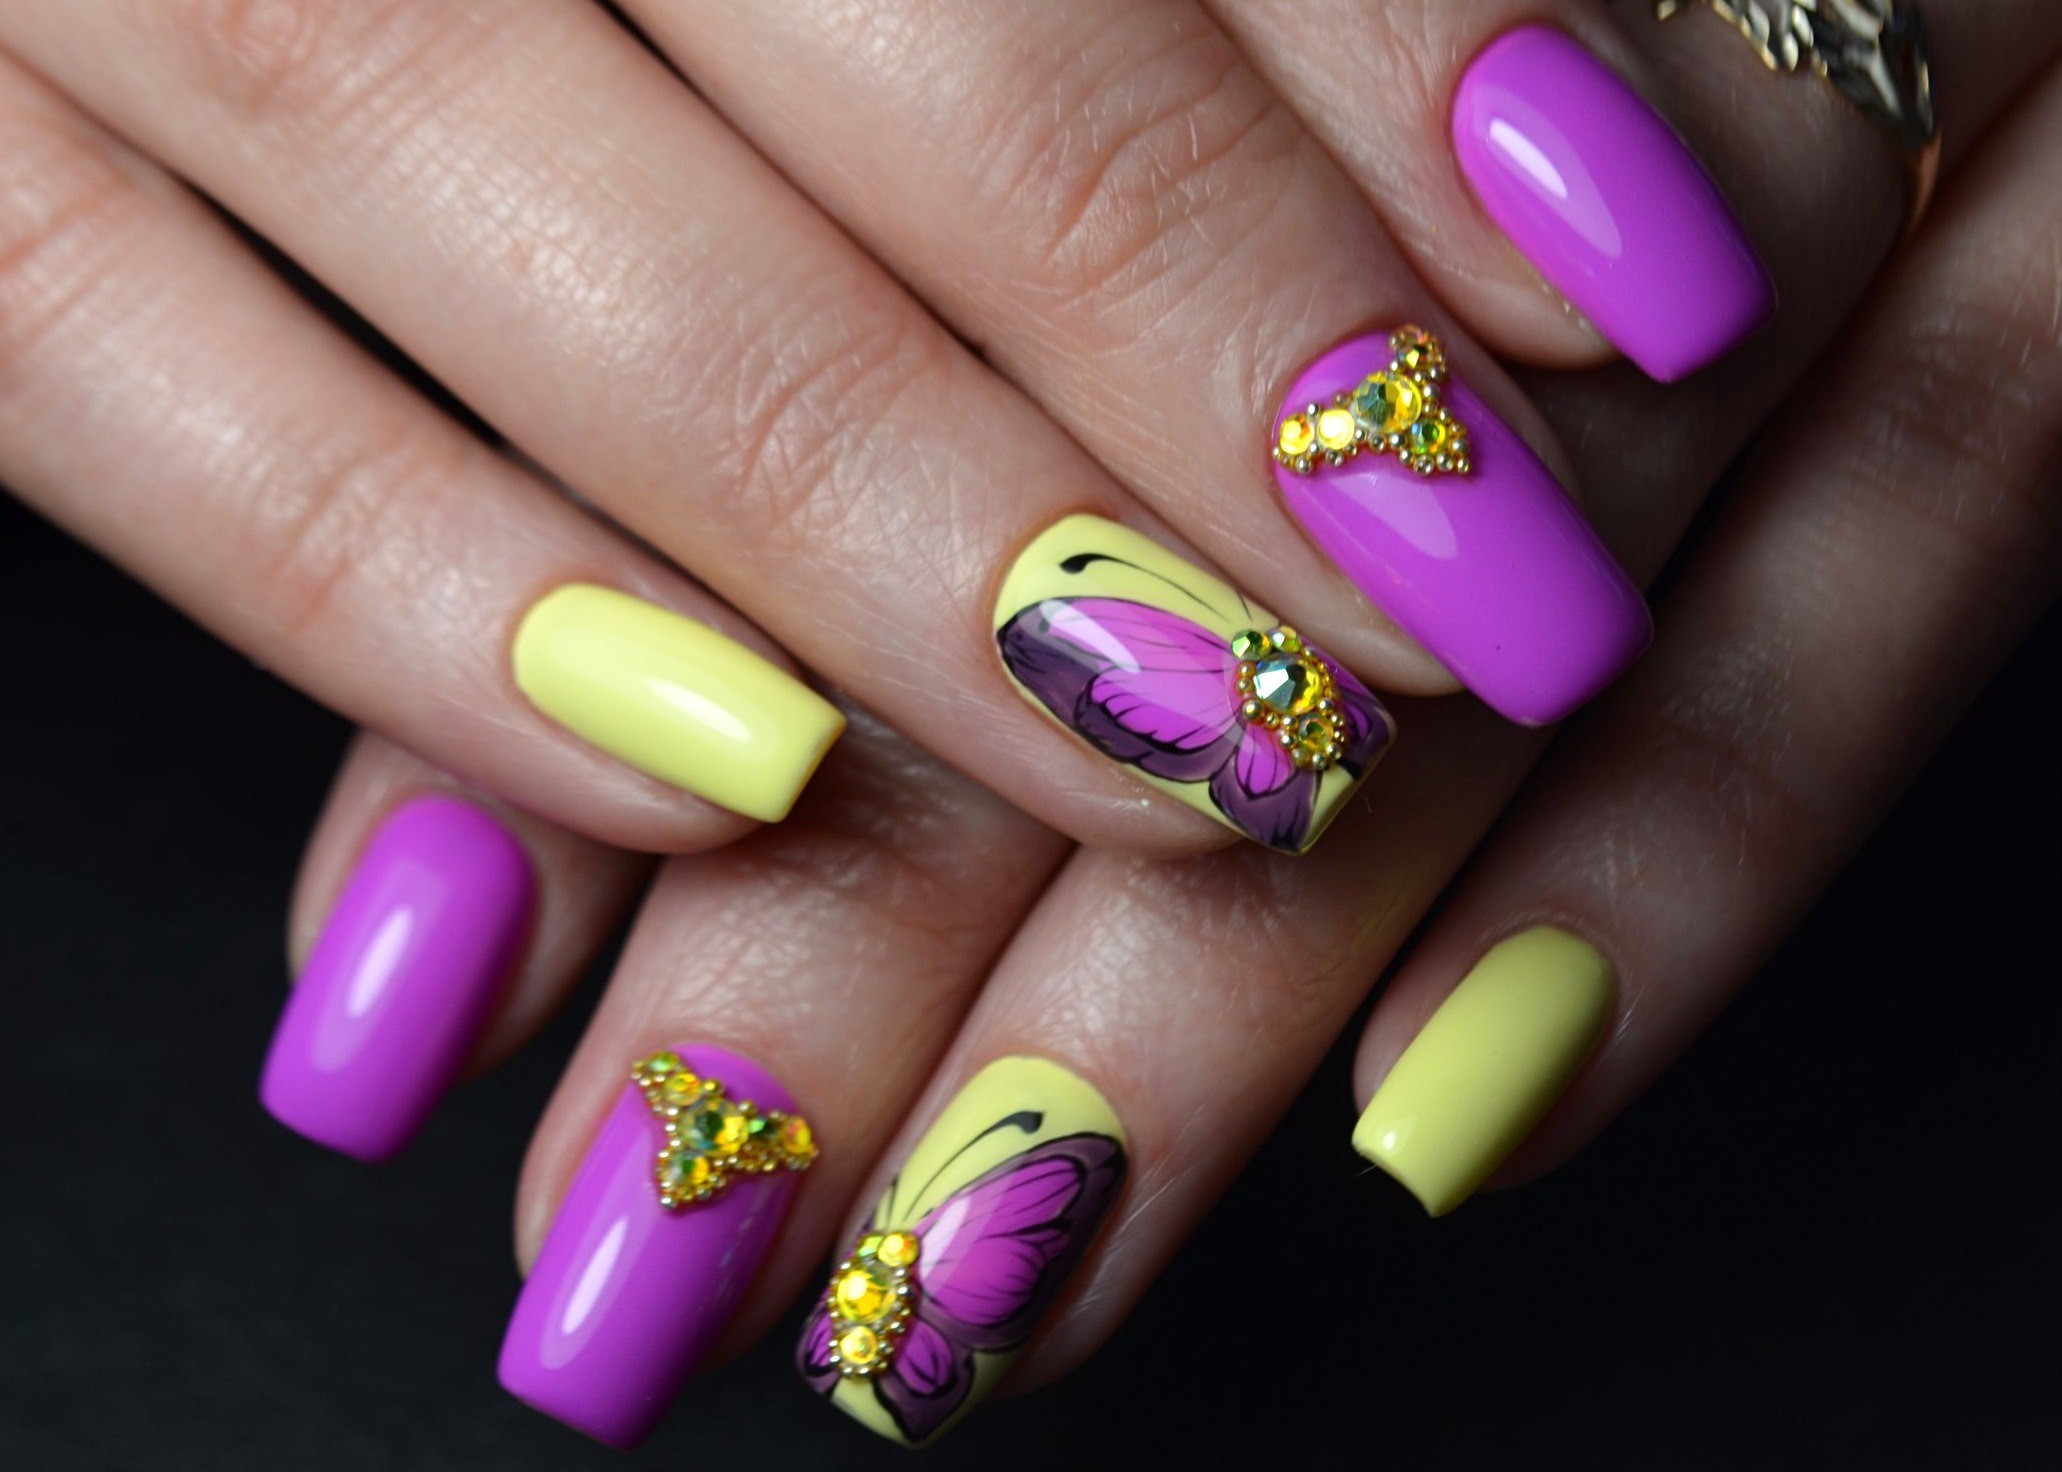
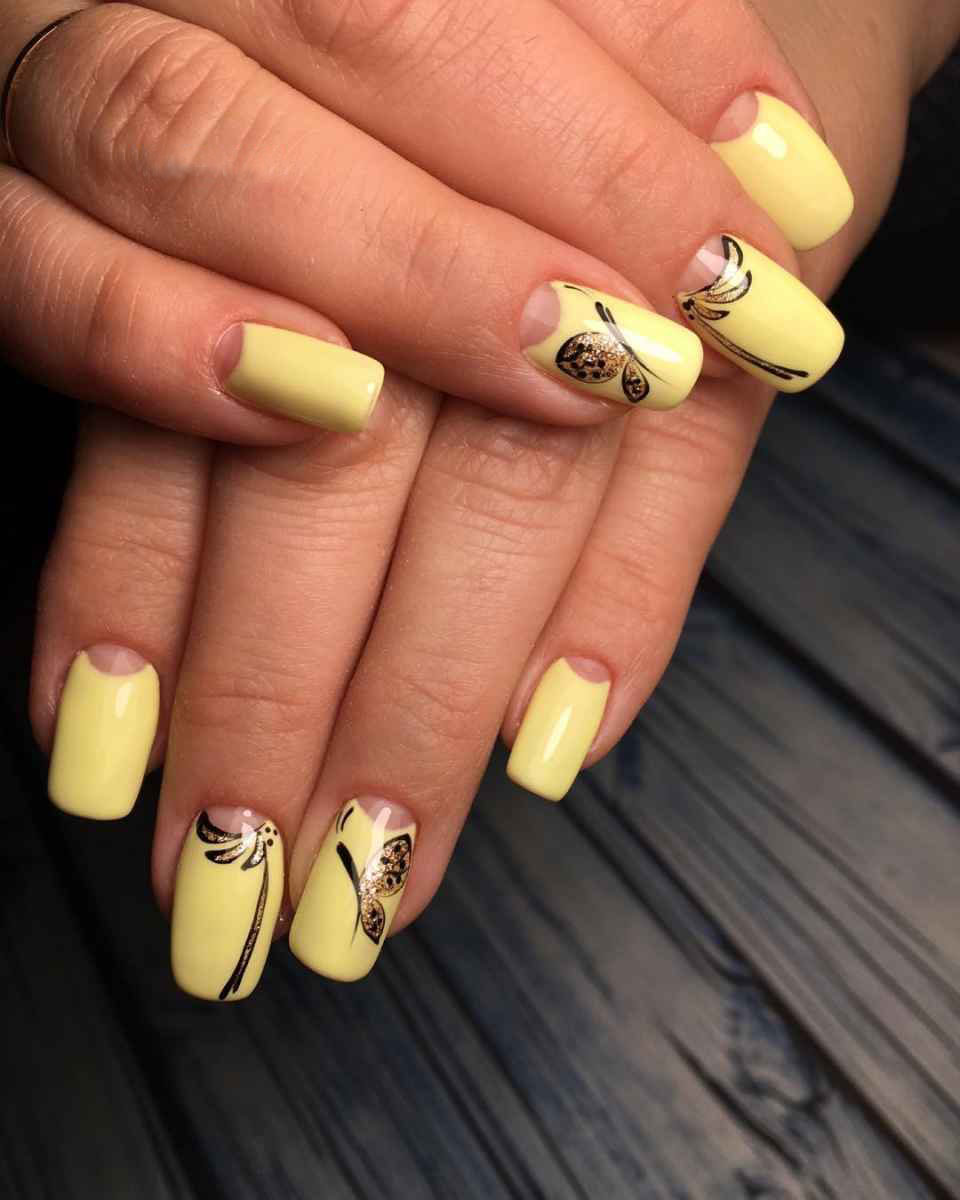
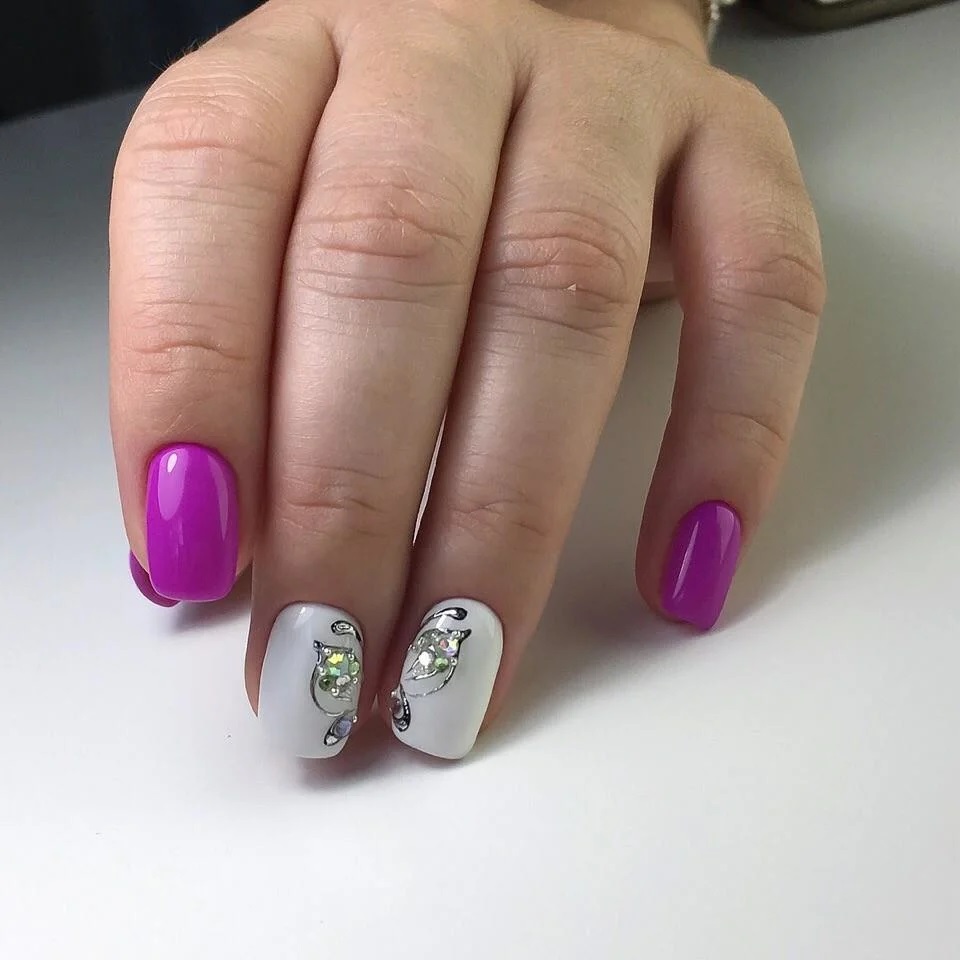
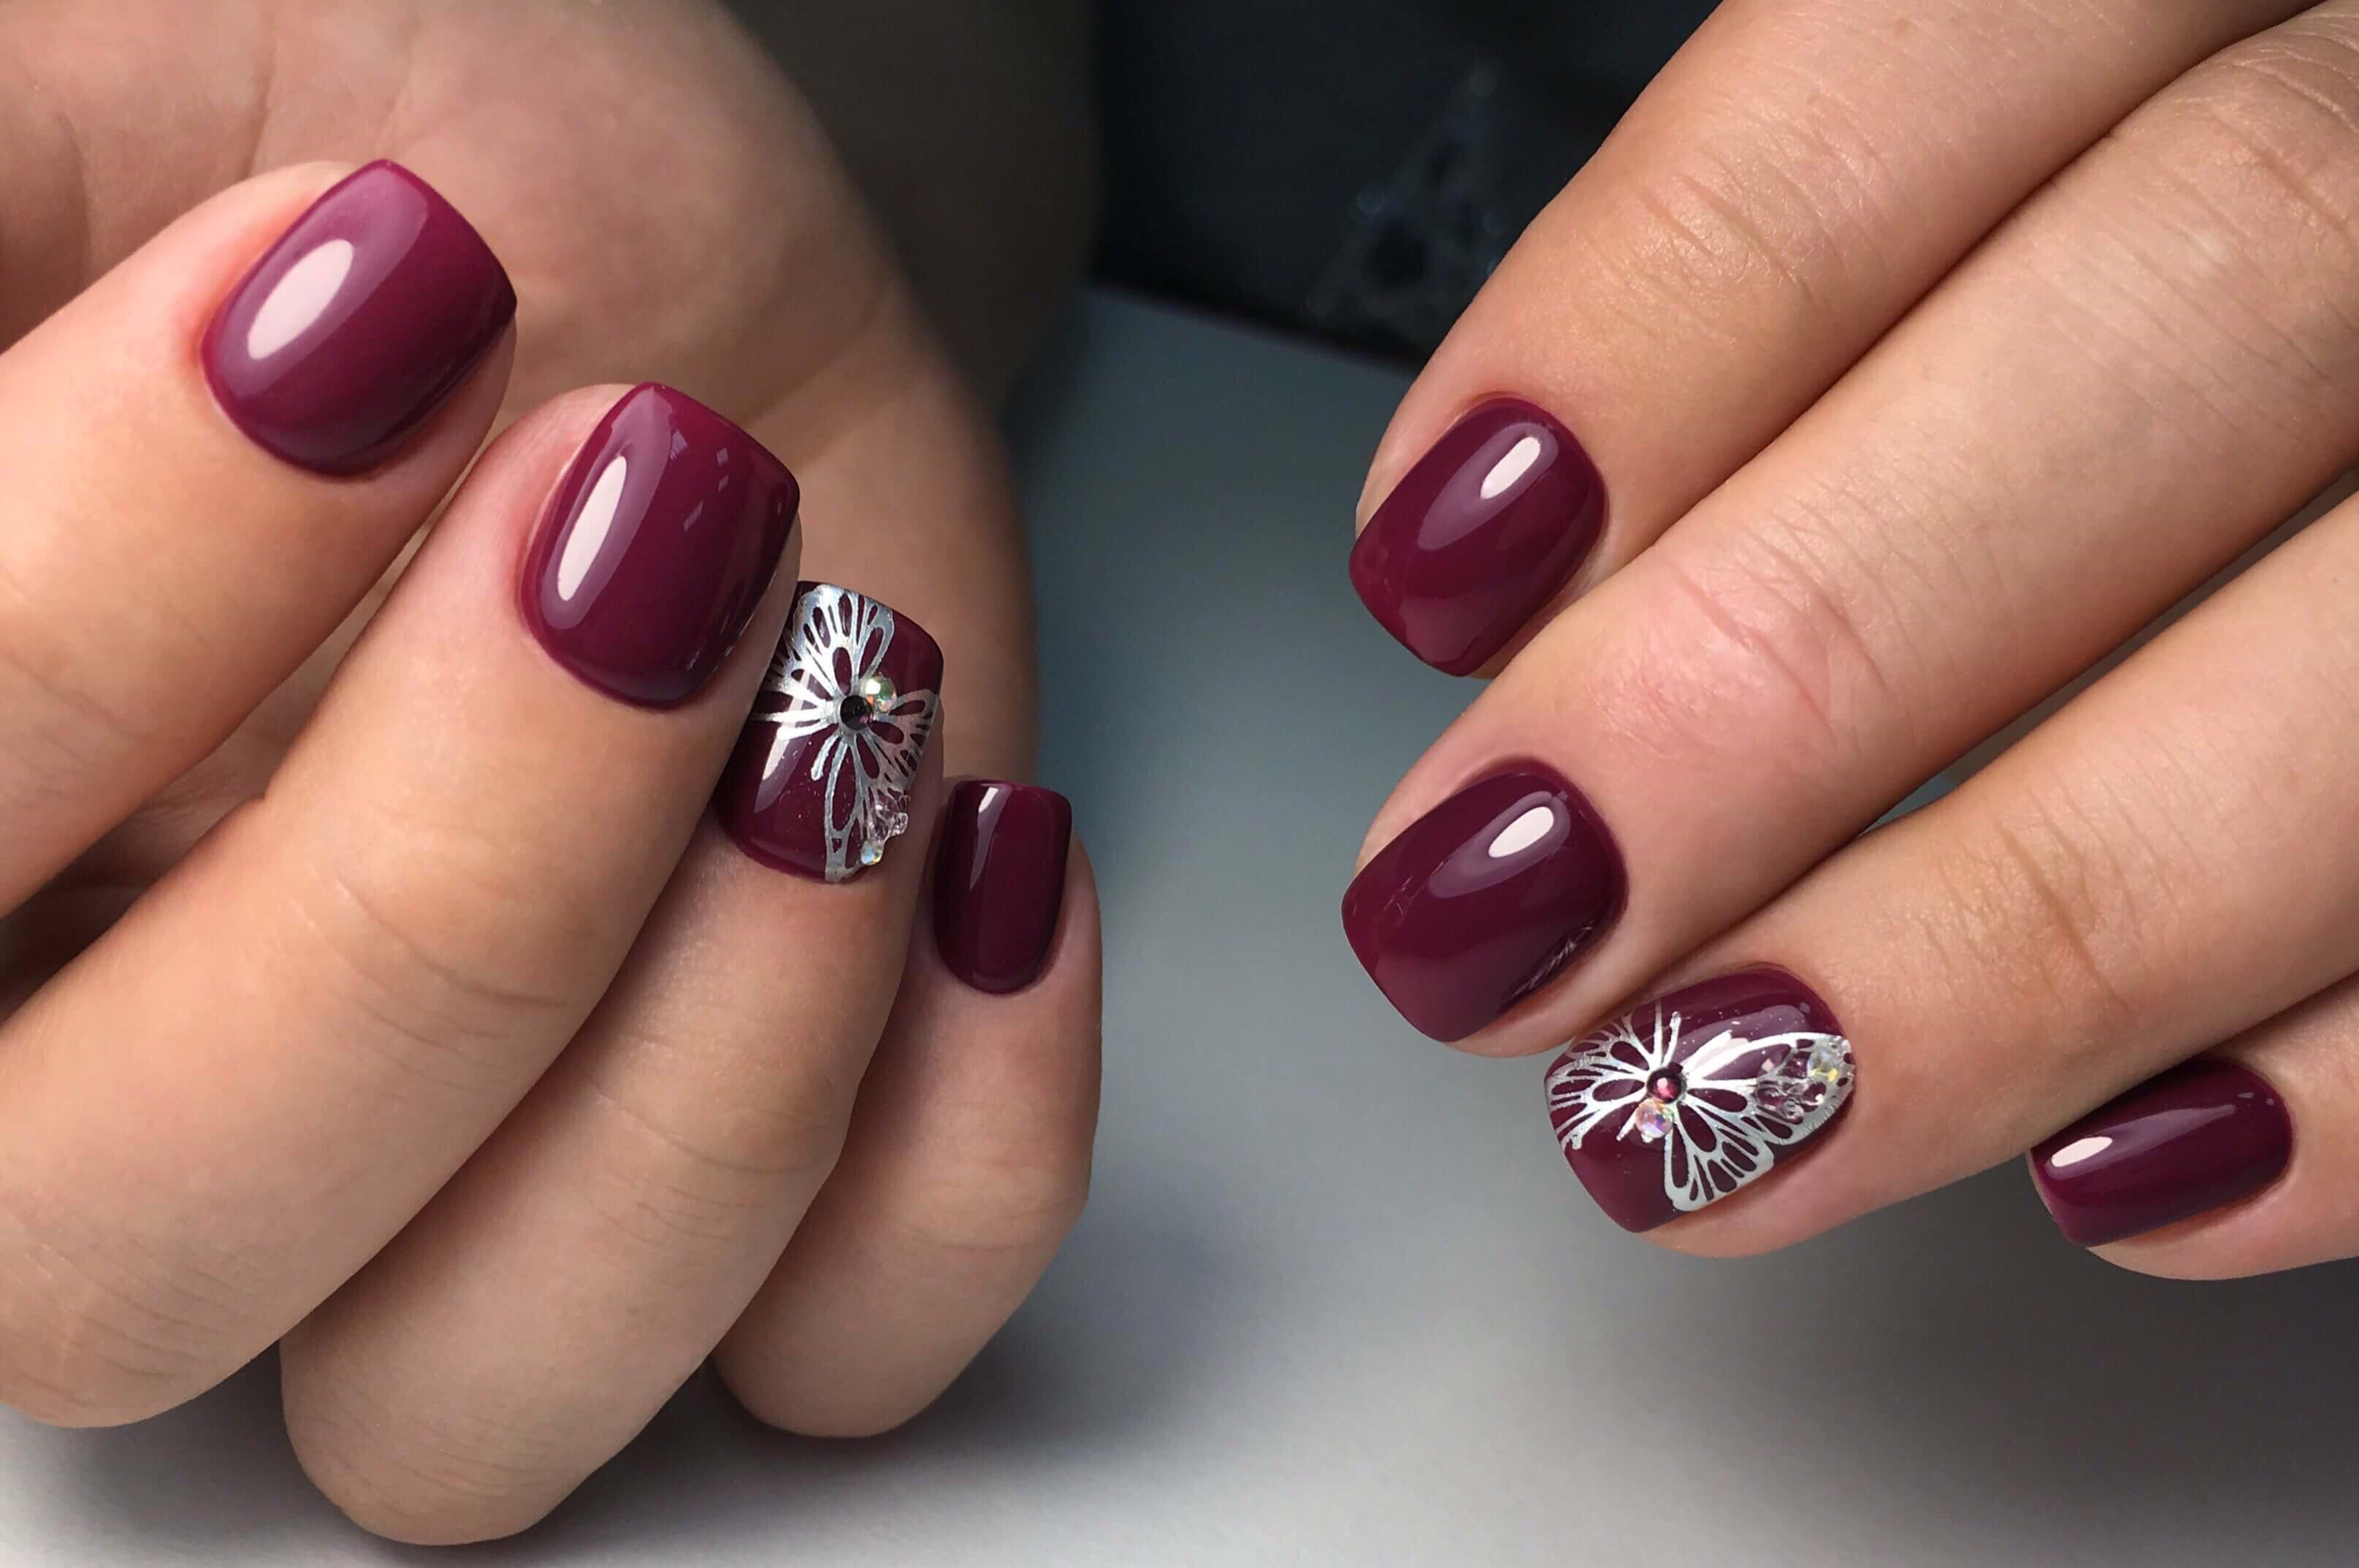
The duet of beige and brown looks interesting. If you want to use a mother-of-pearl texture or rubbing in your decoration, a mix of purple and white will do.
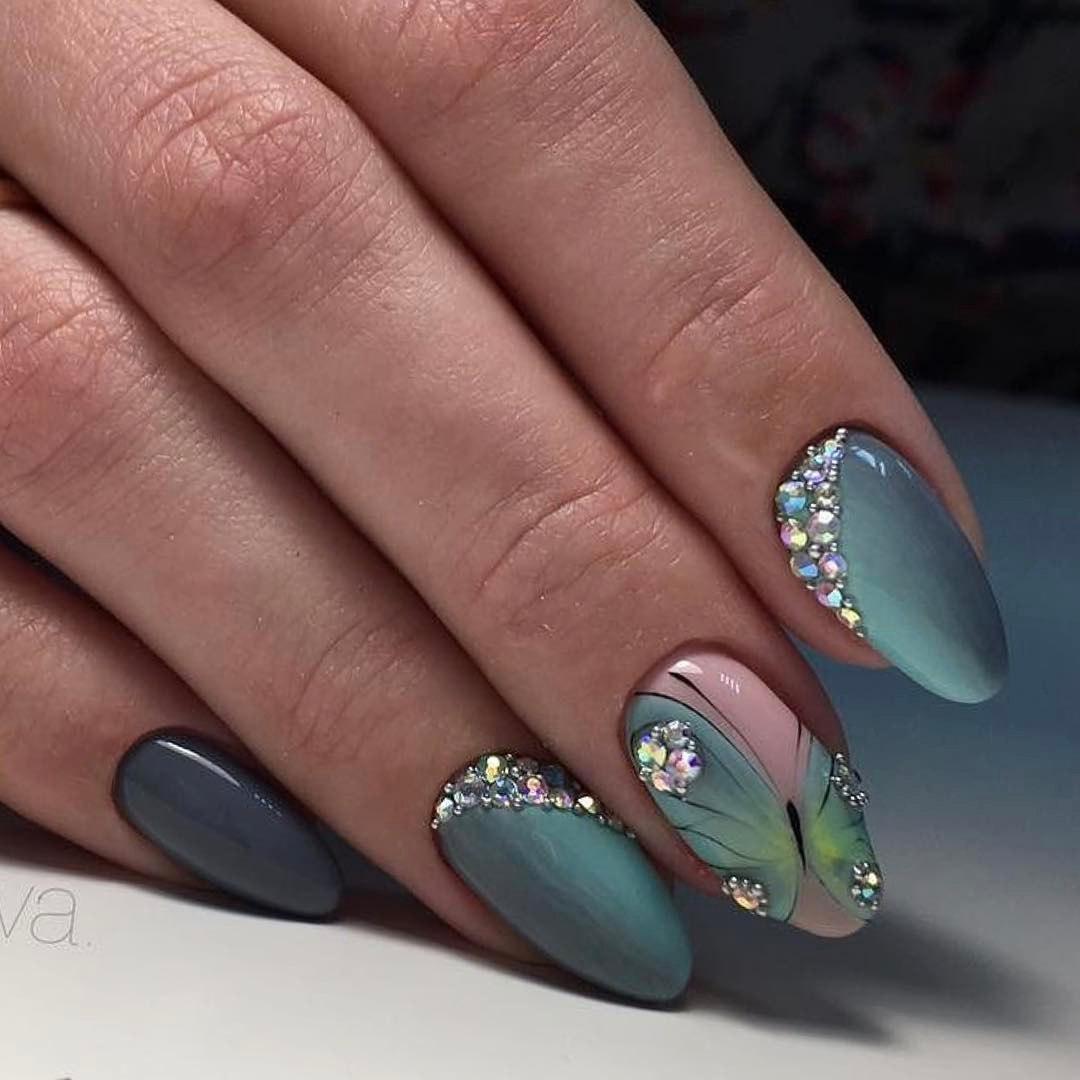
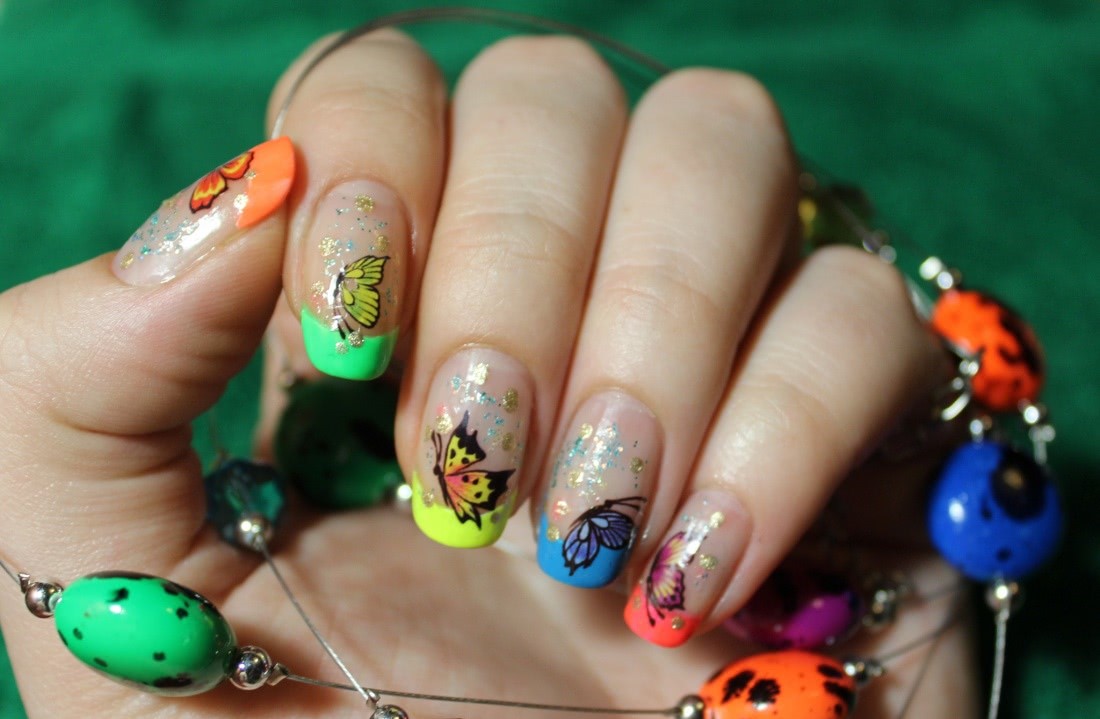
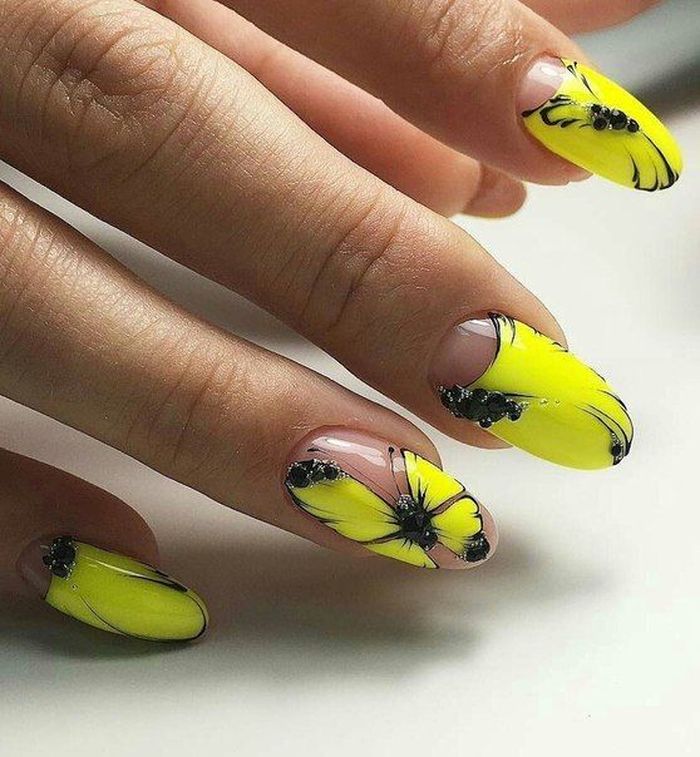
Want to focus on brightness? An excellent choice for the summer season. In this case, it will be lost against a dark background. Choose shades so that it itself is bright, and the base is a few tones lighter.
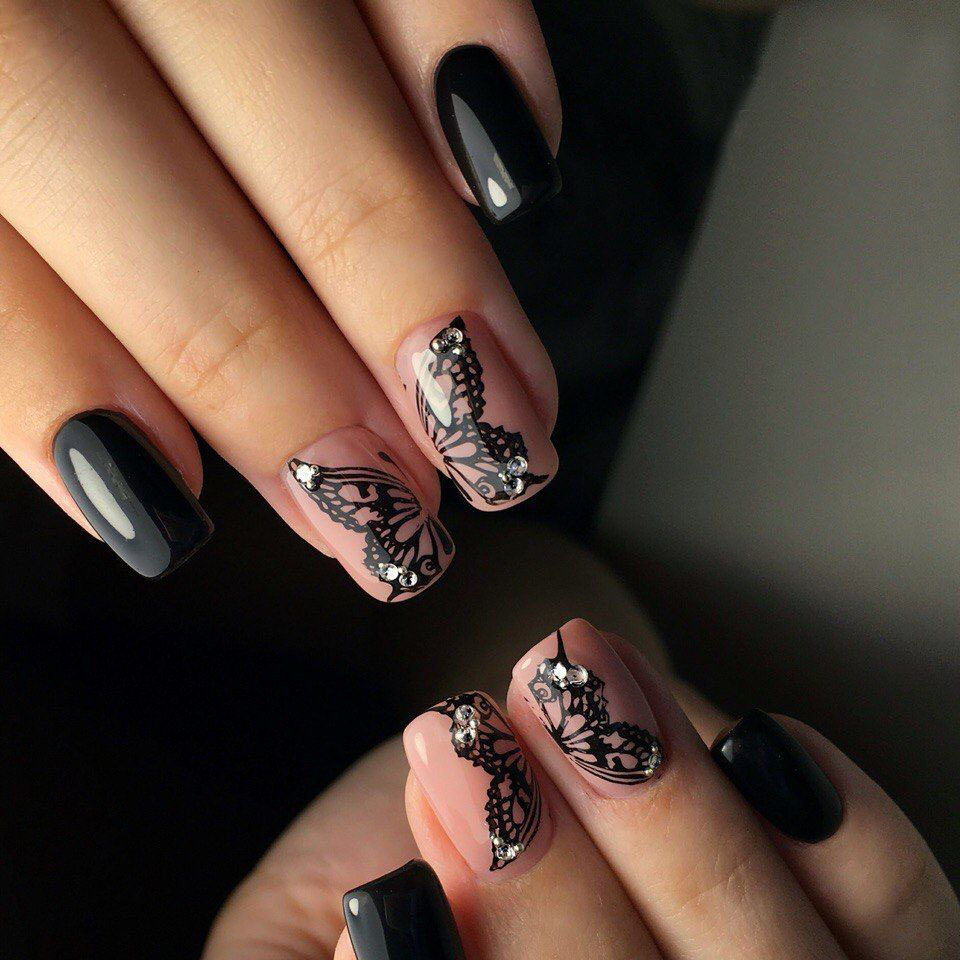
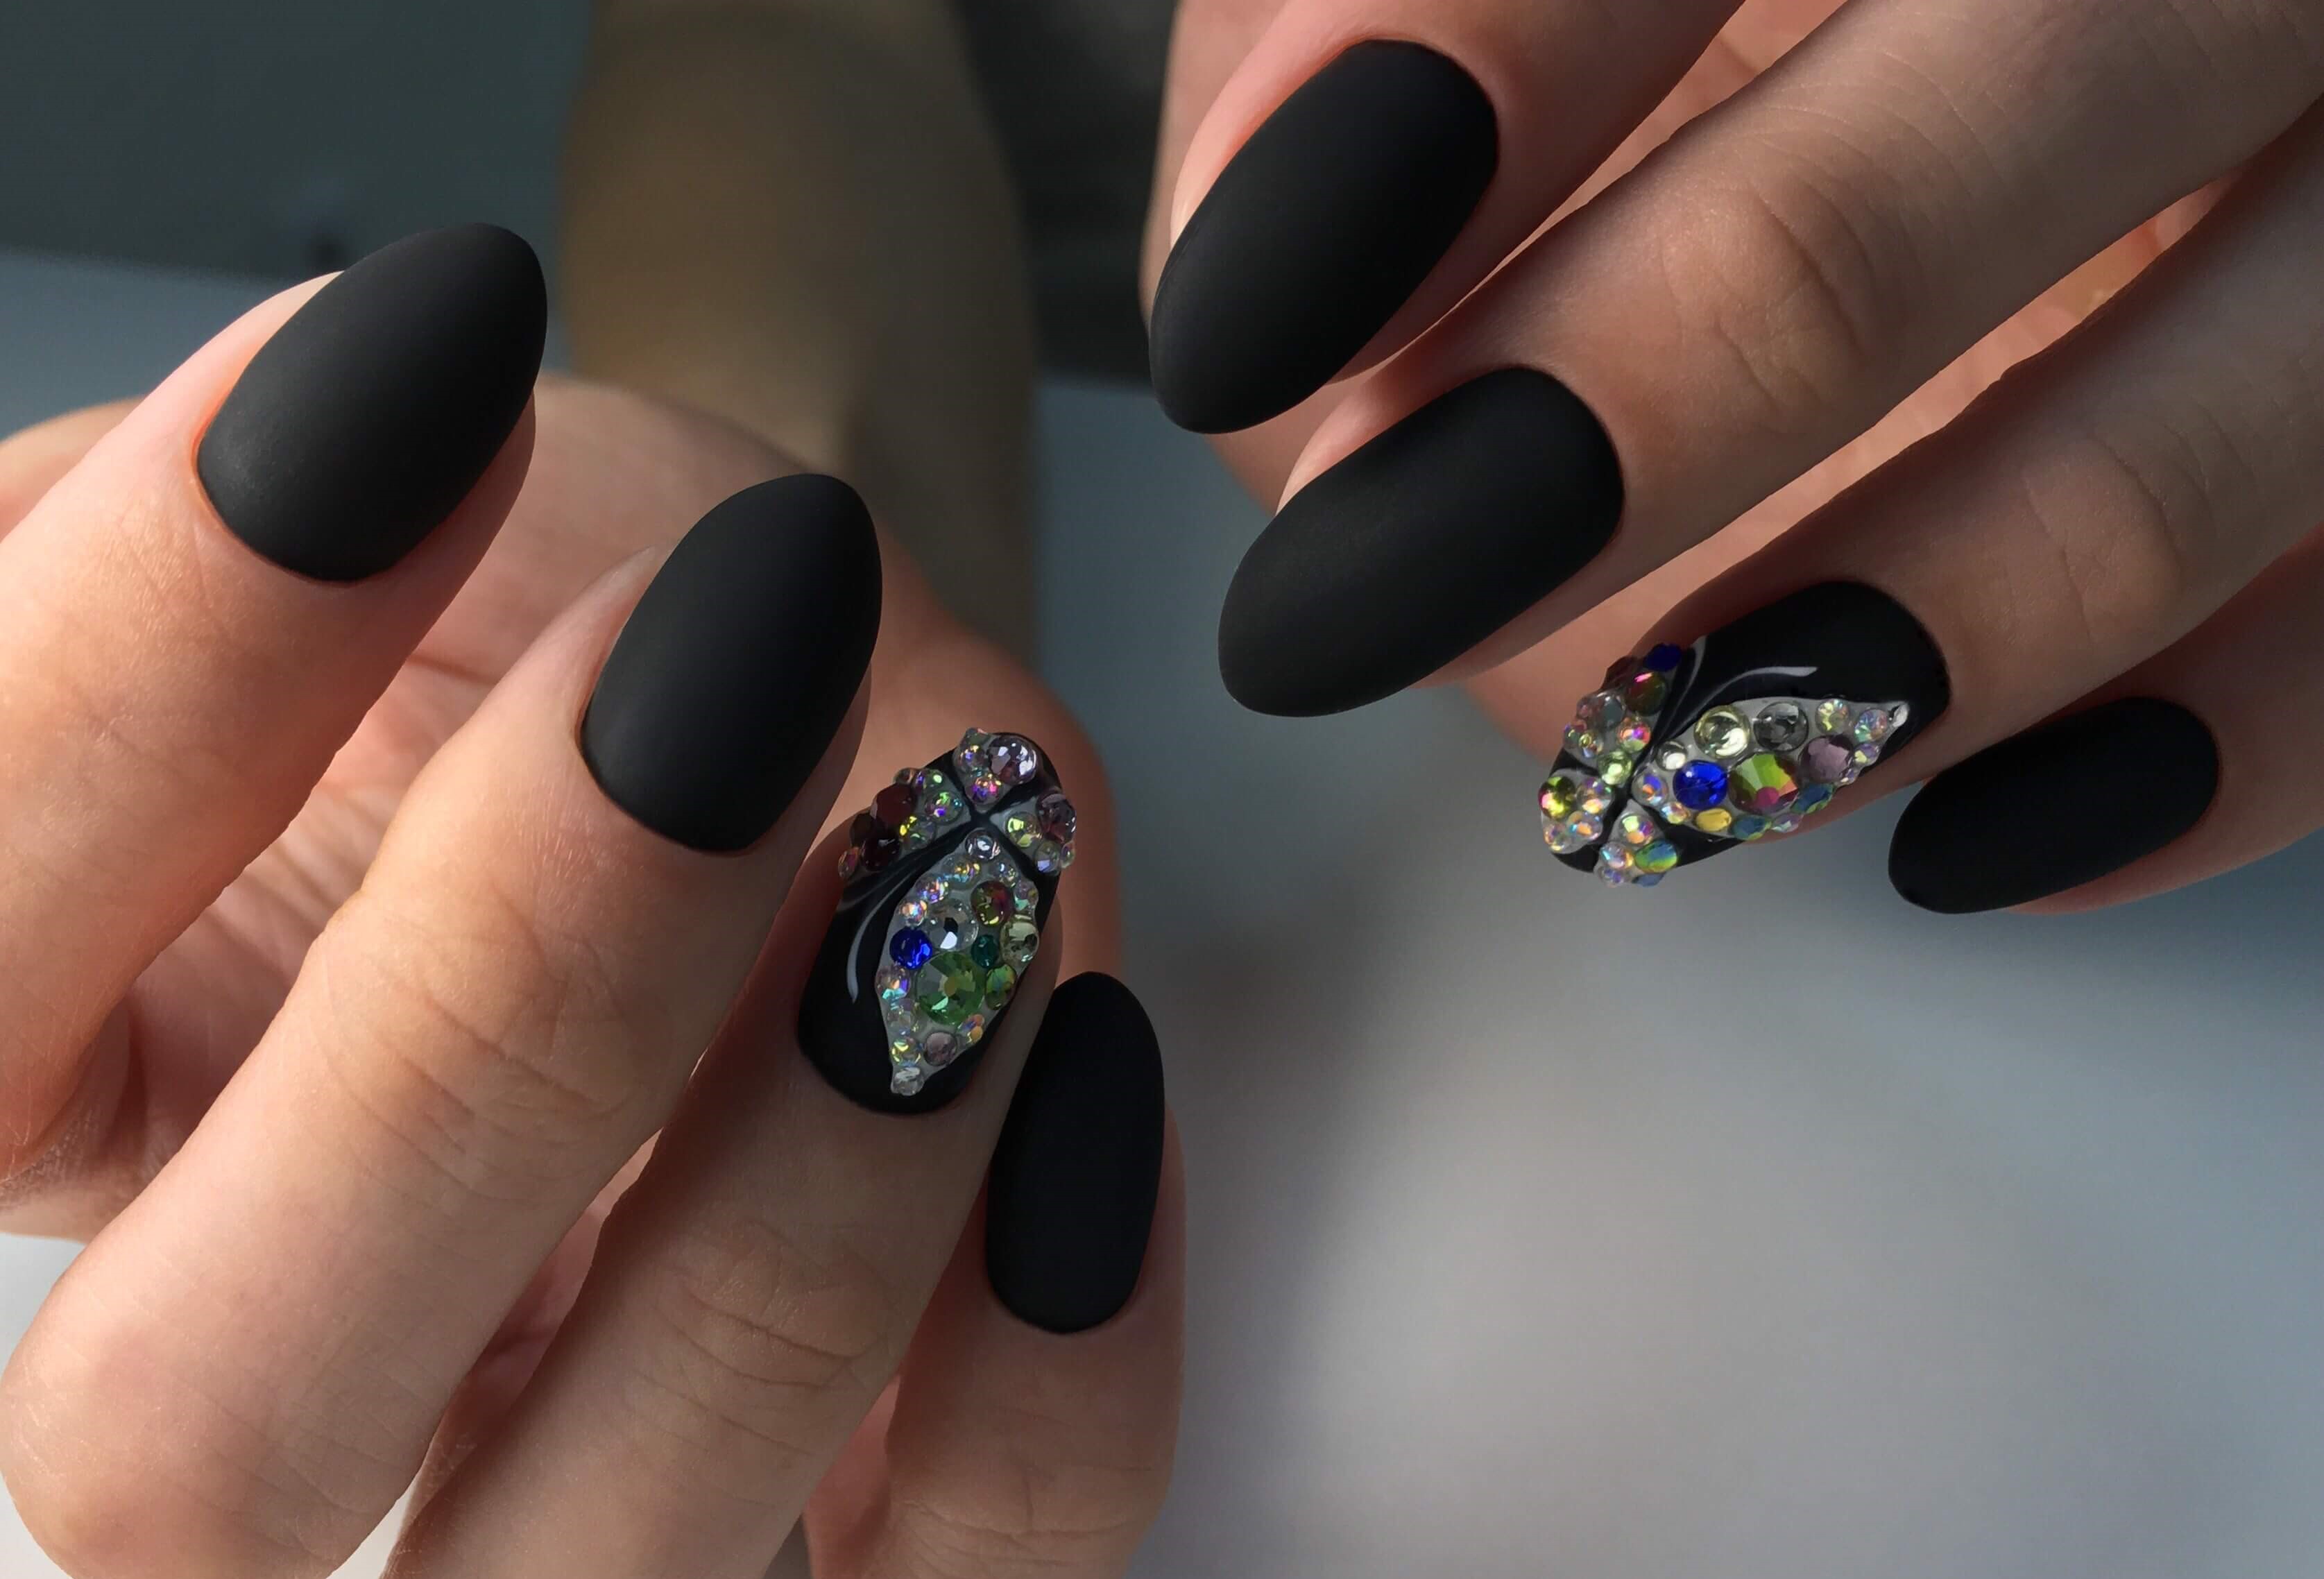
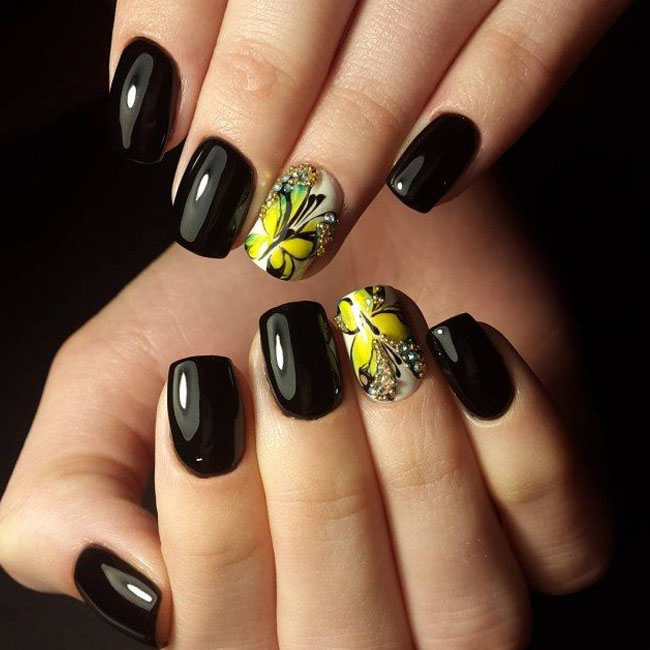
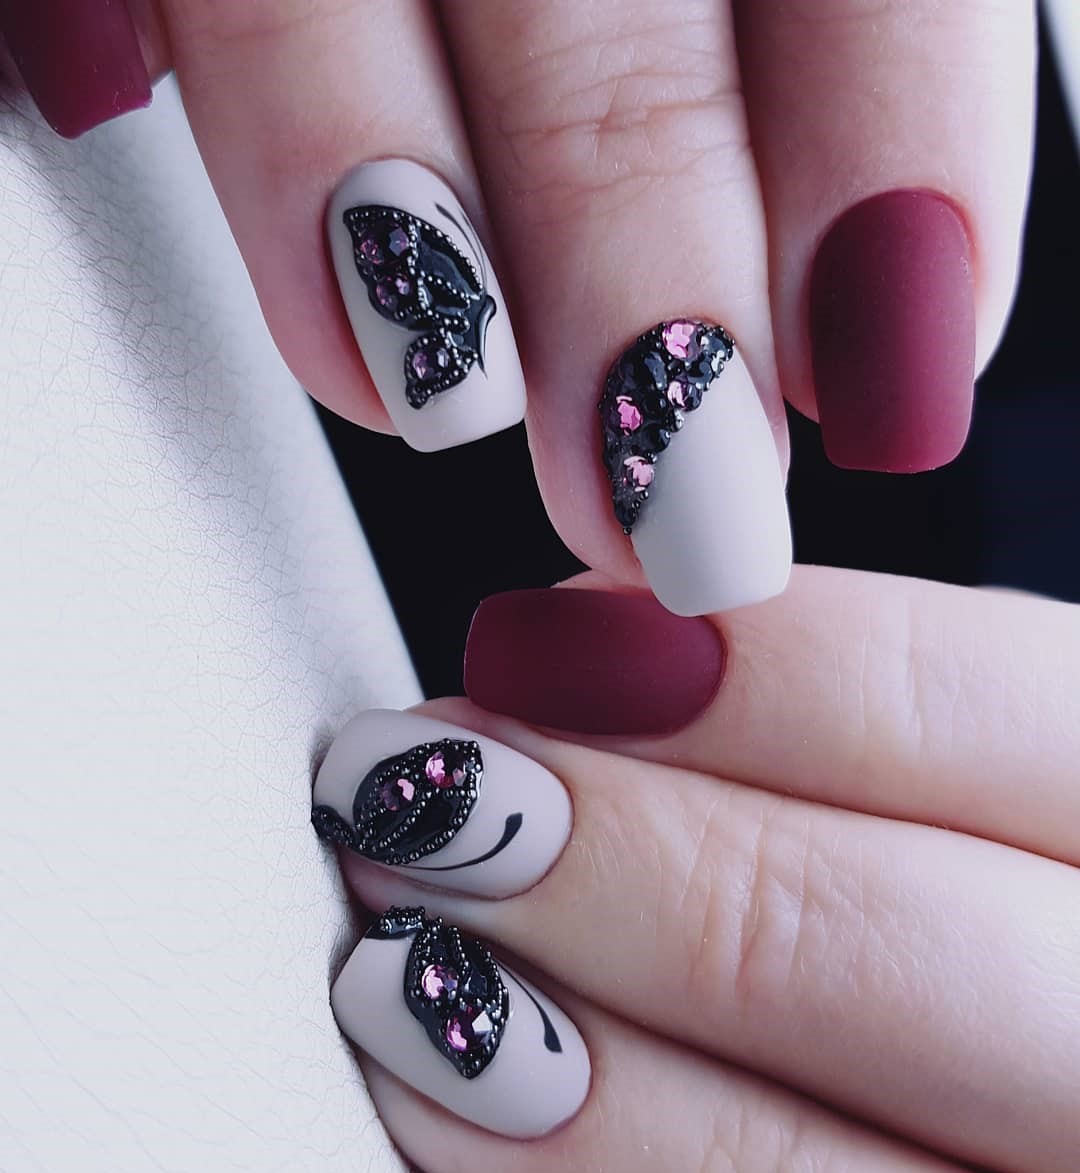
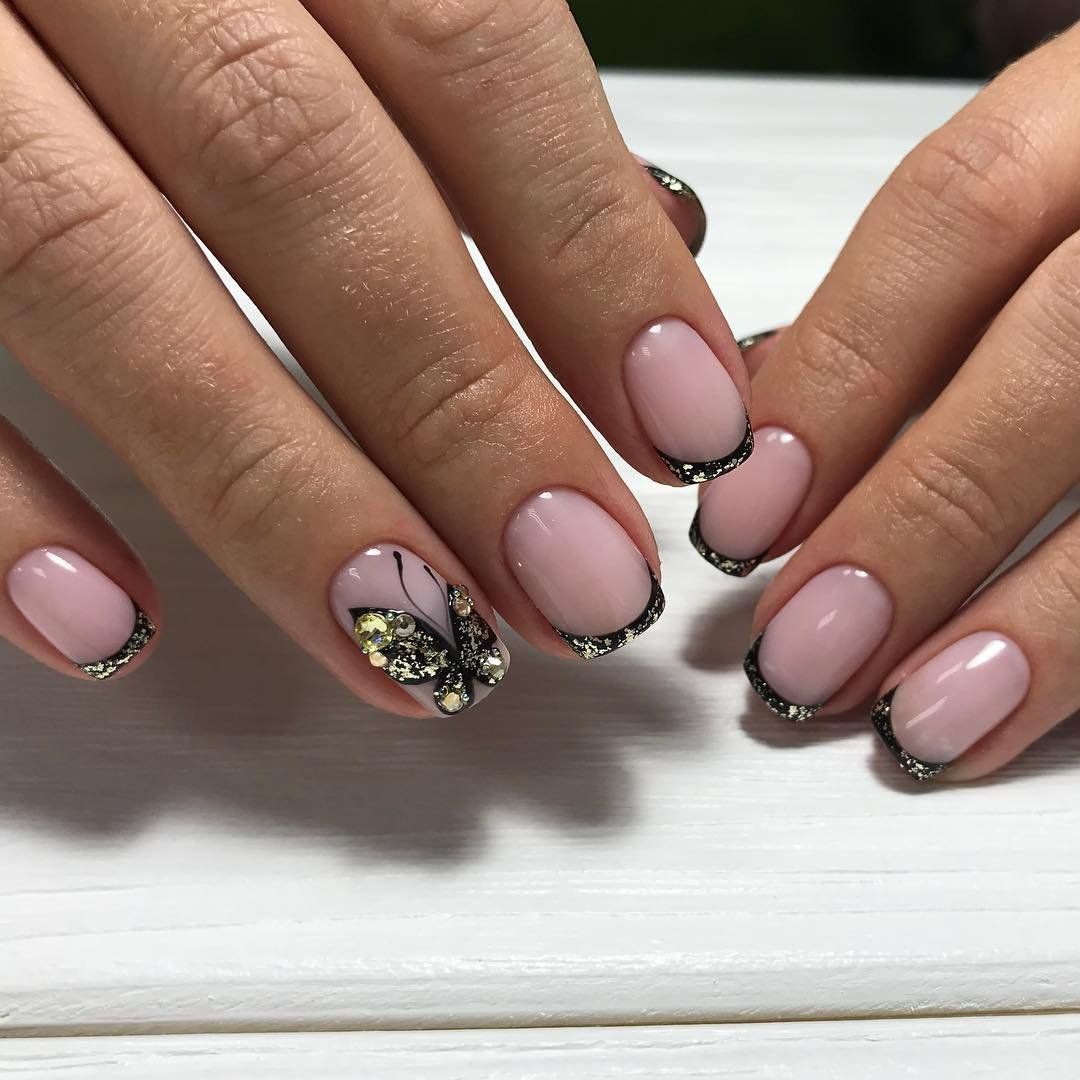
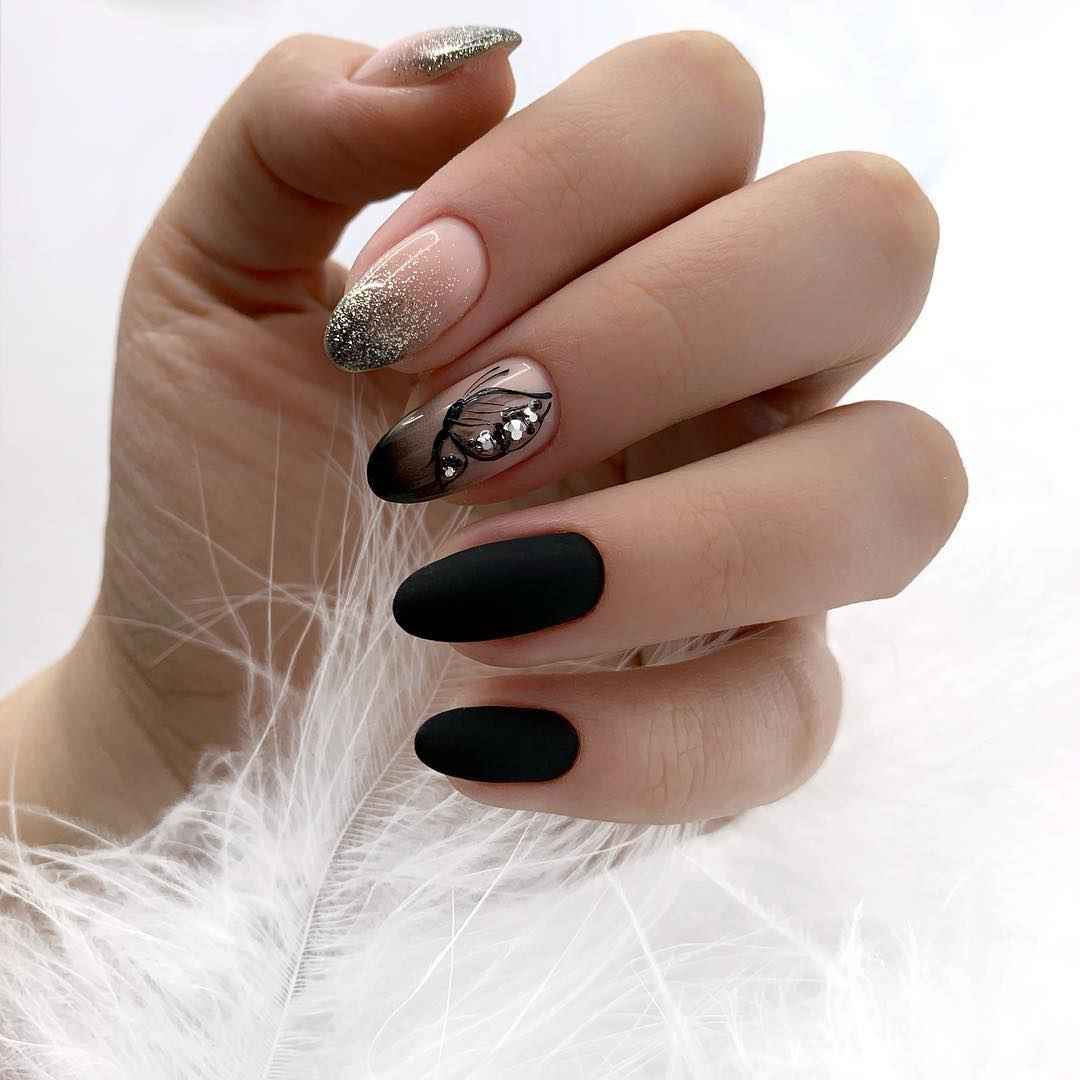
In black
This color attracts attention, combines restraint and expressiveness. Want a gothic, quirky butterfly?
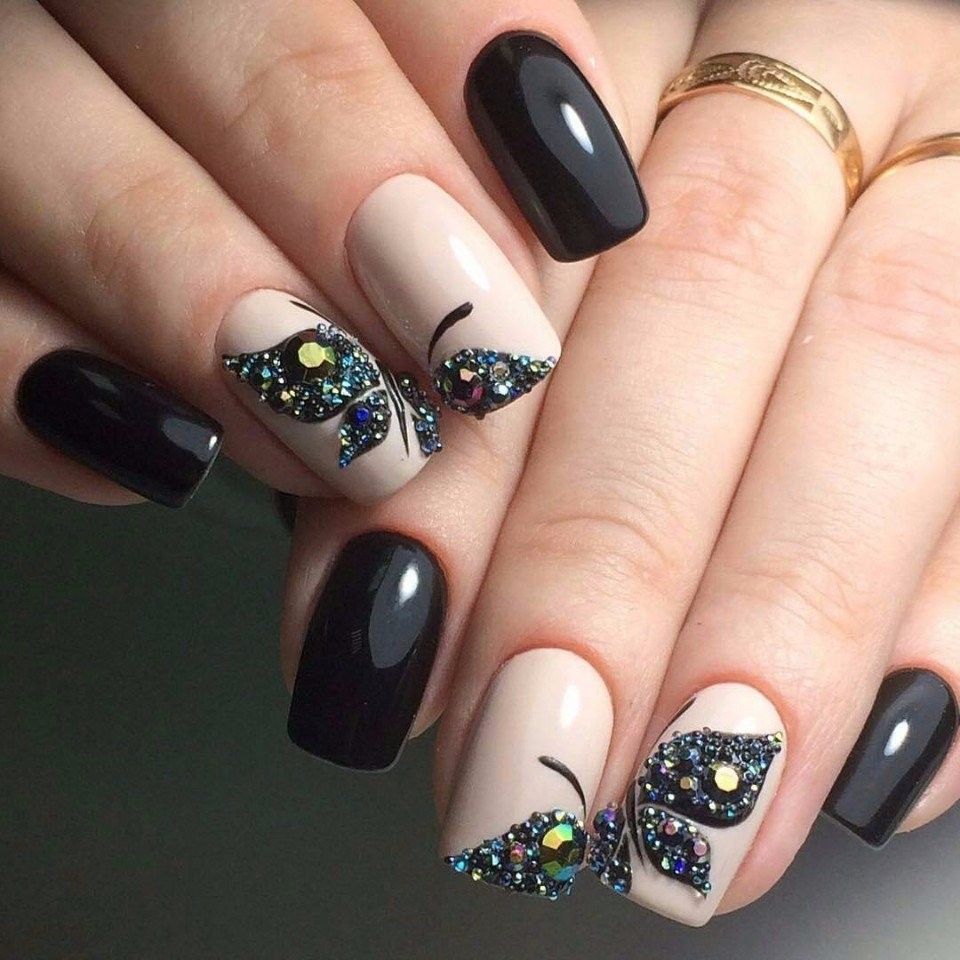
Use matching gel polish or shellac to make it look more voluminous. The image will live longer.
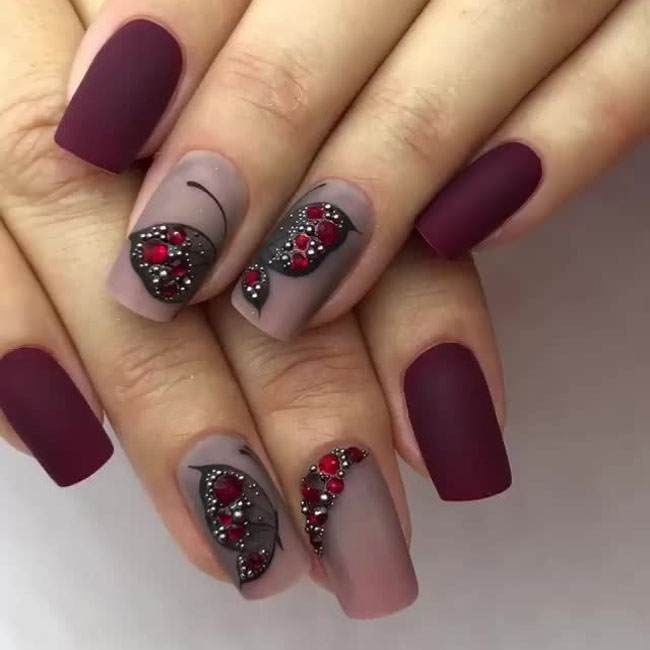
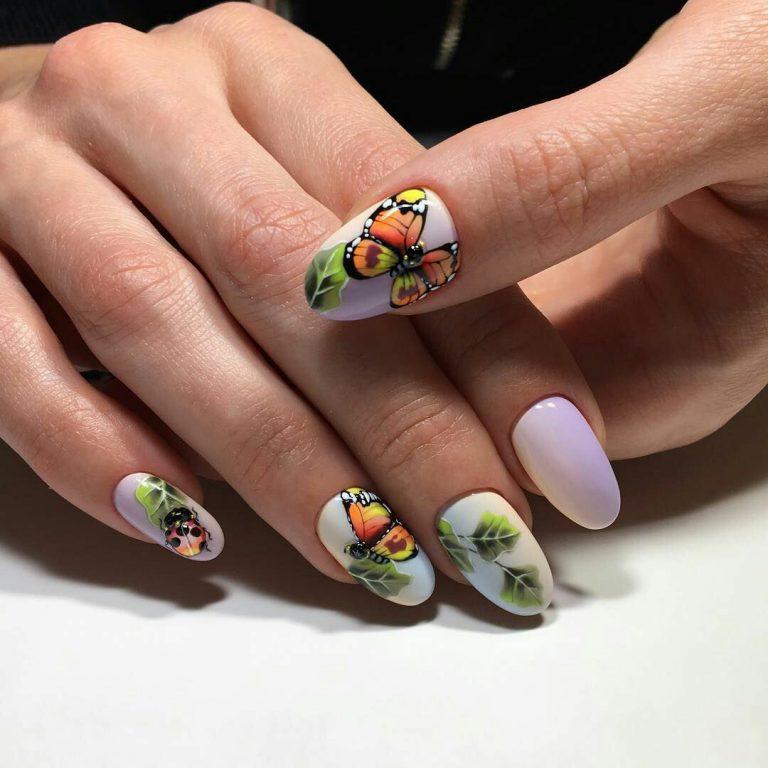
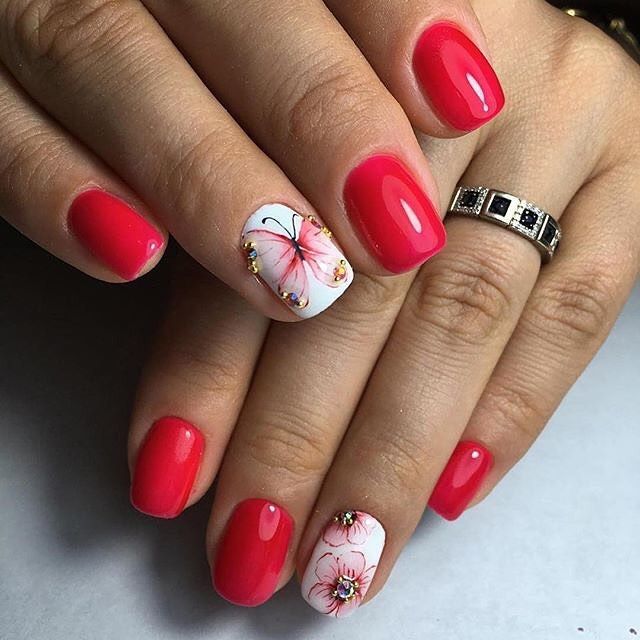
Red
An original, expressive decor will turn out with a large red butterfly sitting on the nail of the ring finger. Choose beige for the base.
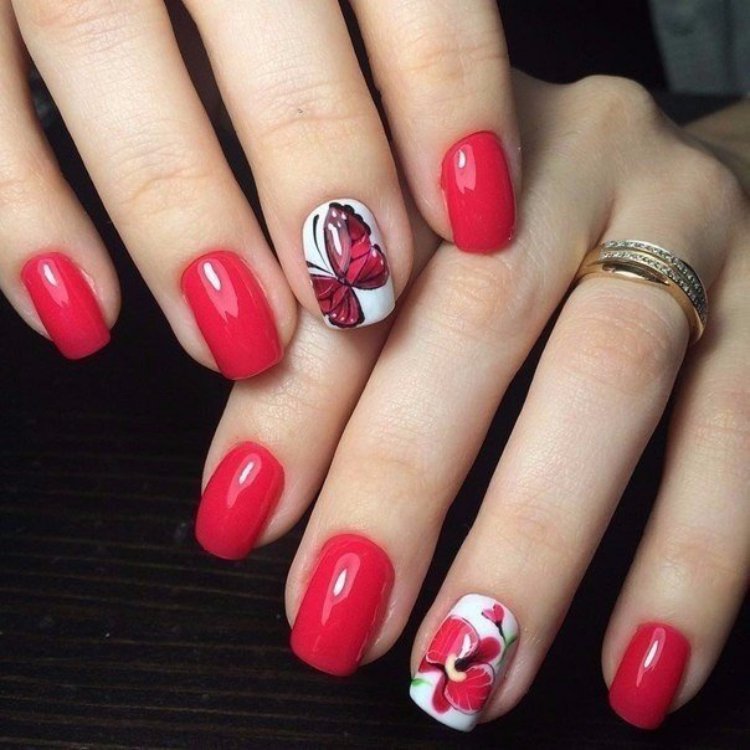
An interesting idea - a wing on one nail, mirrored on the next.
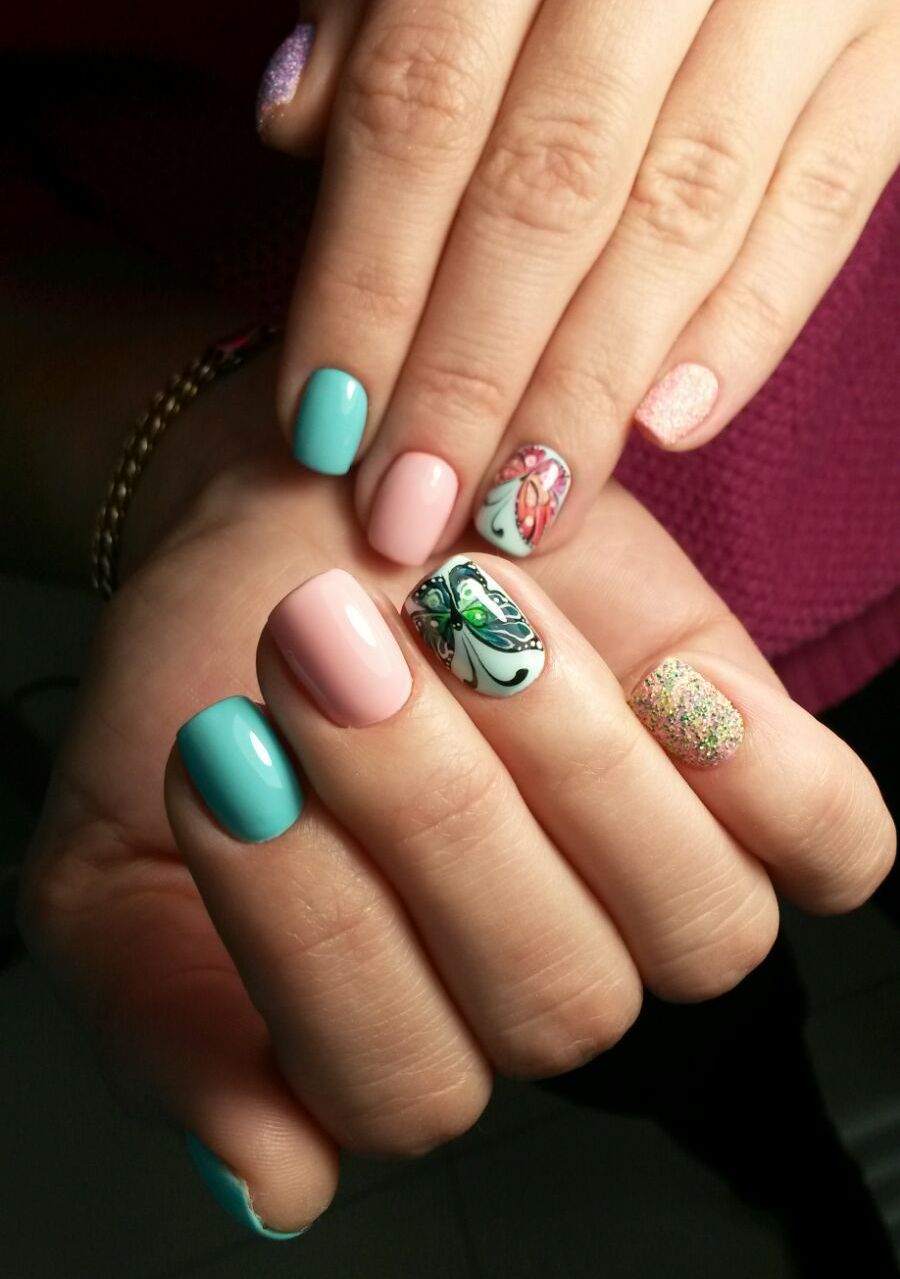
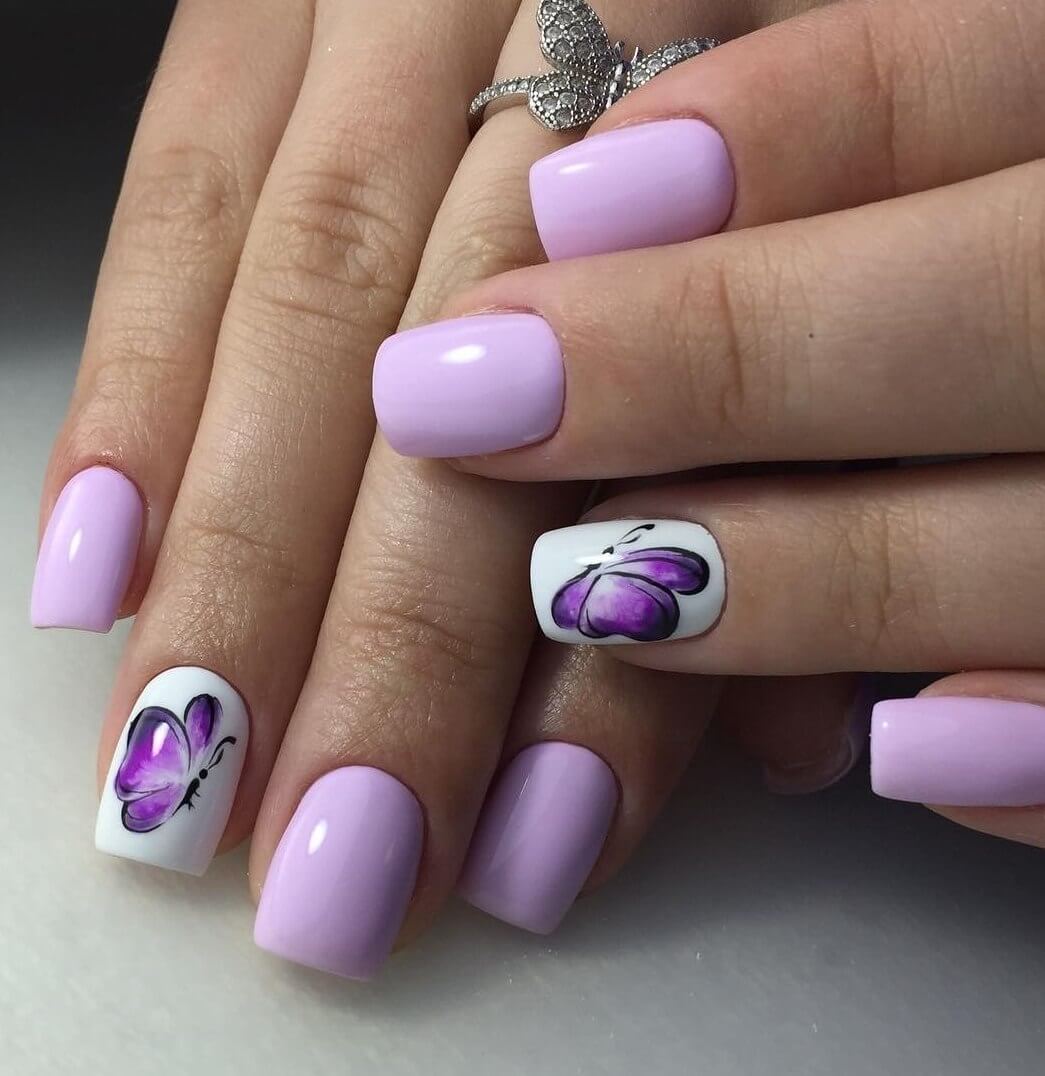
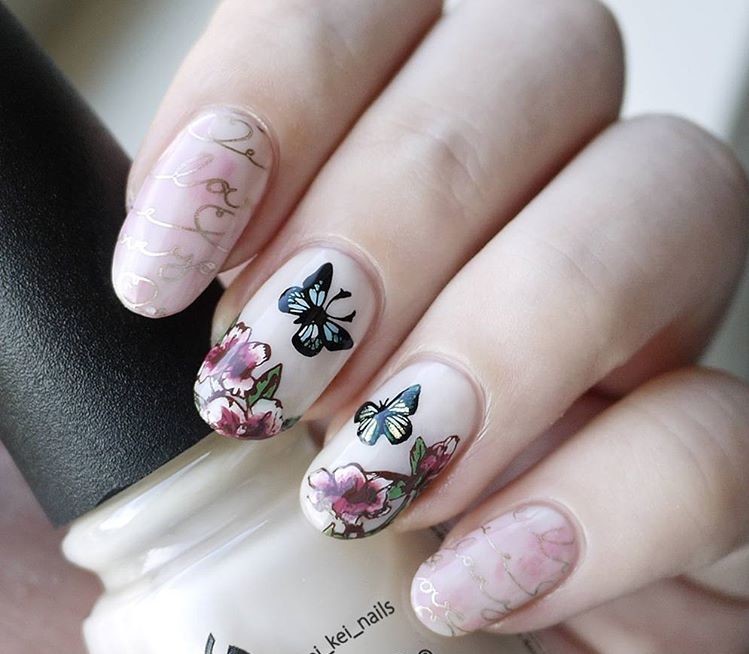
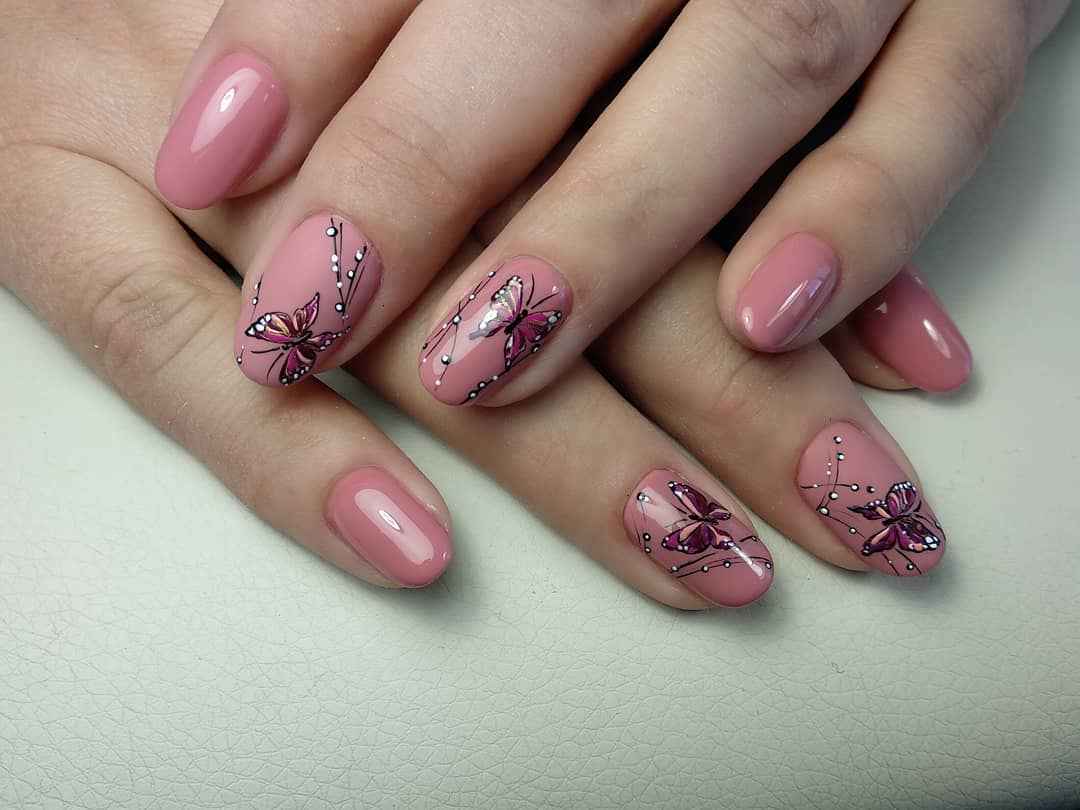
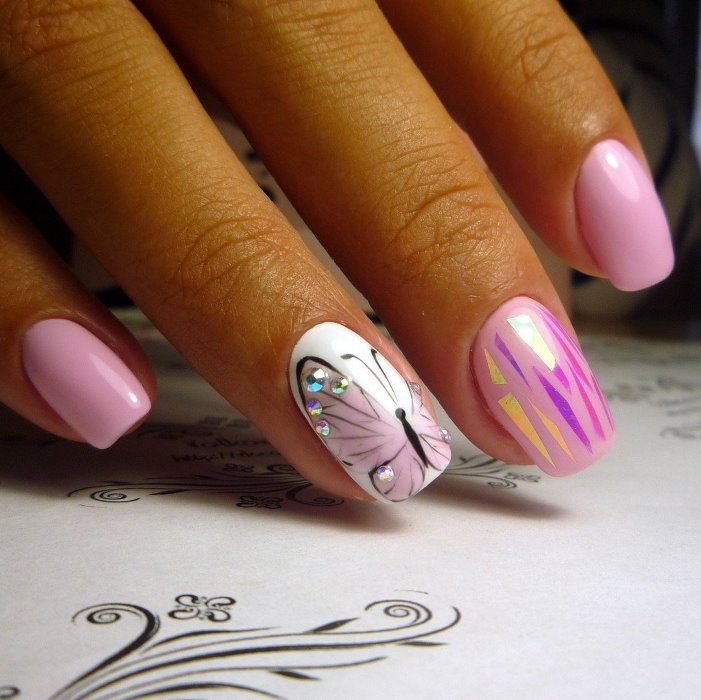
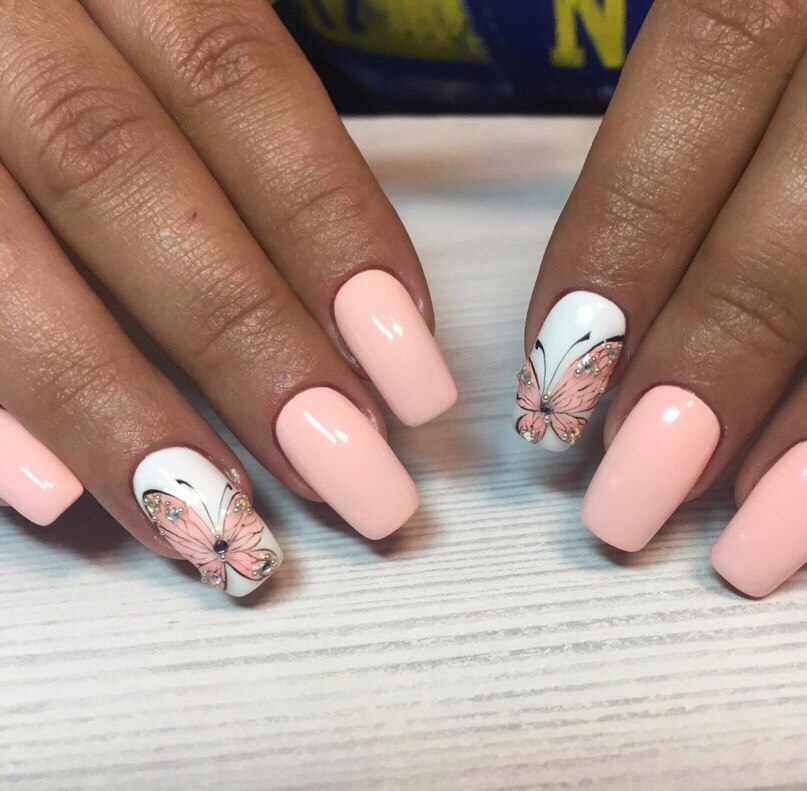
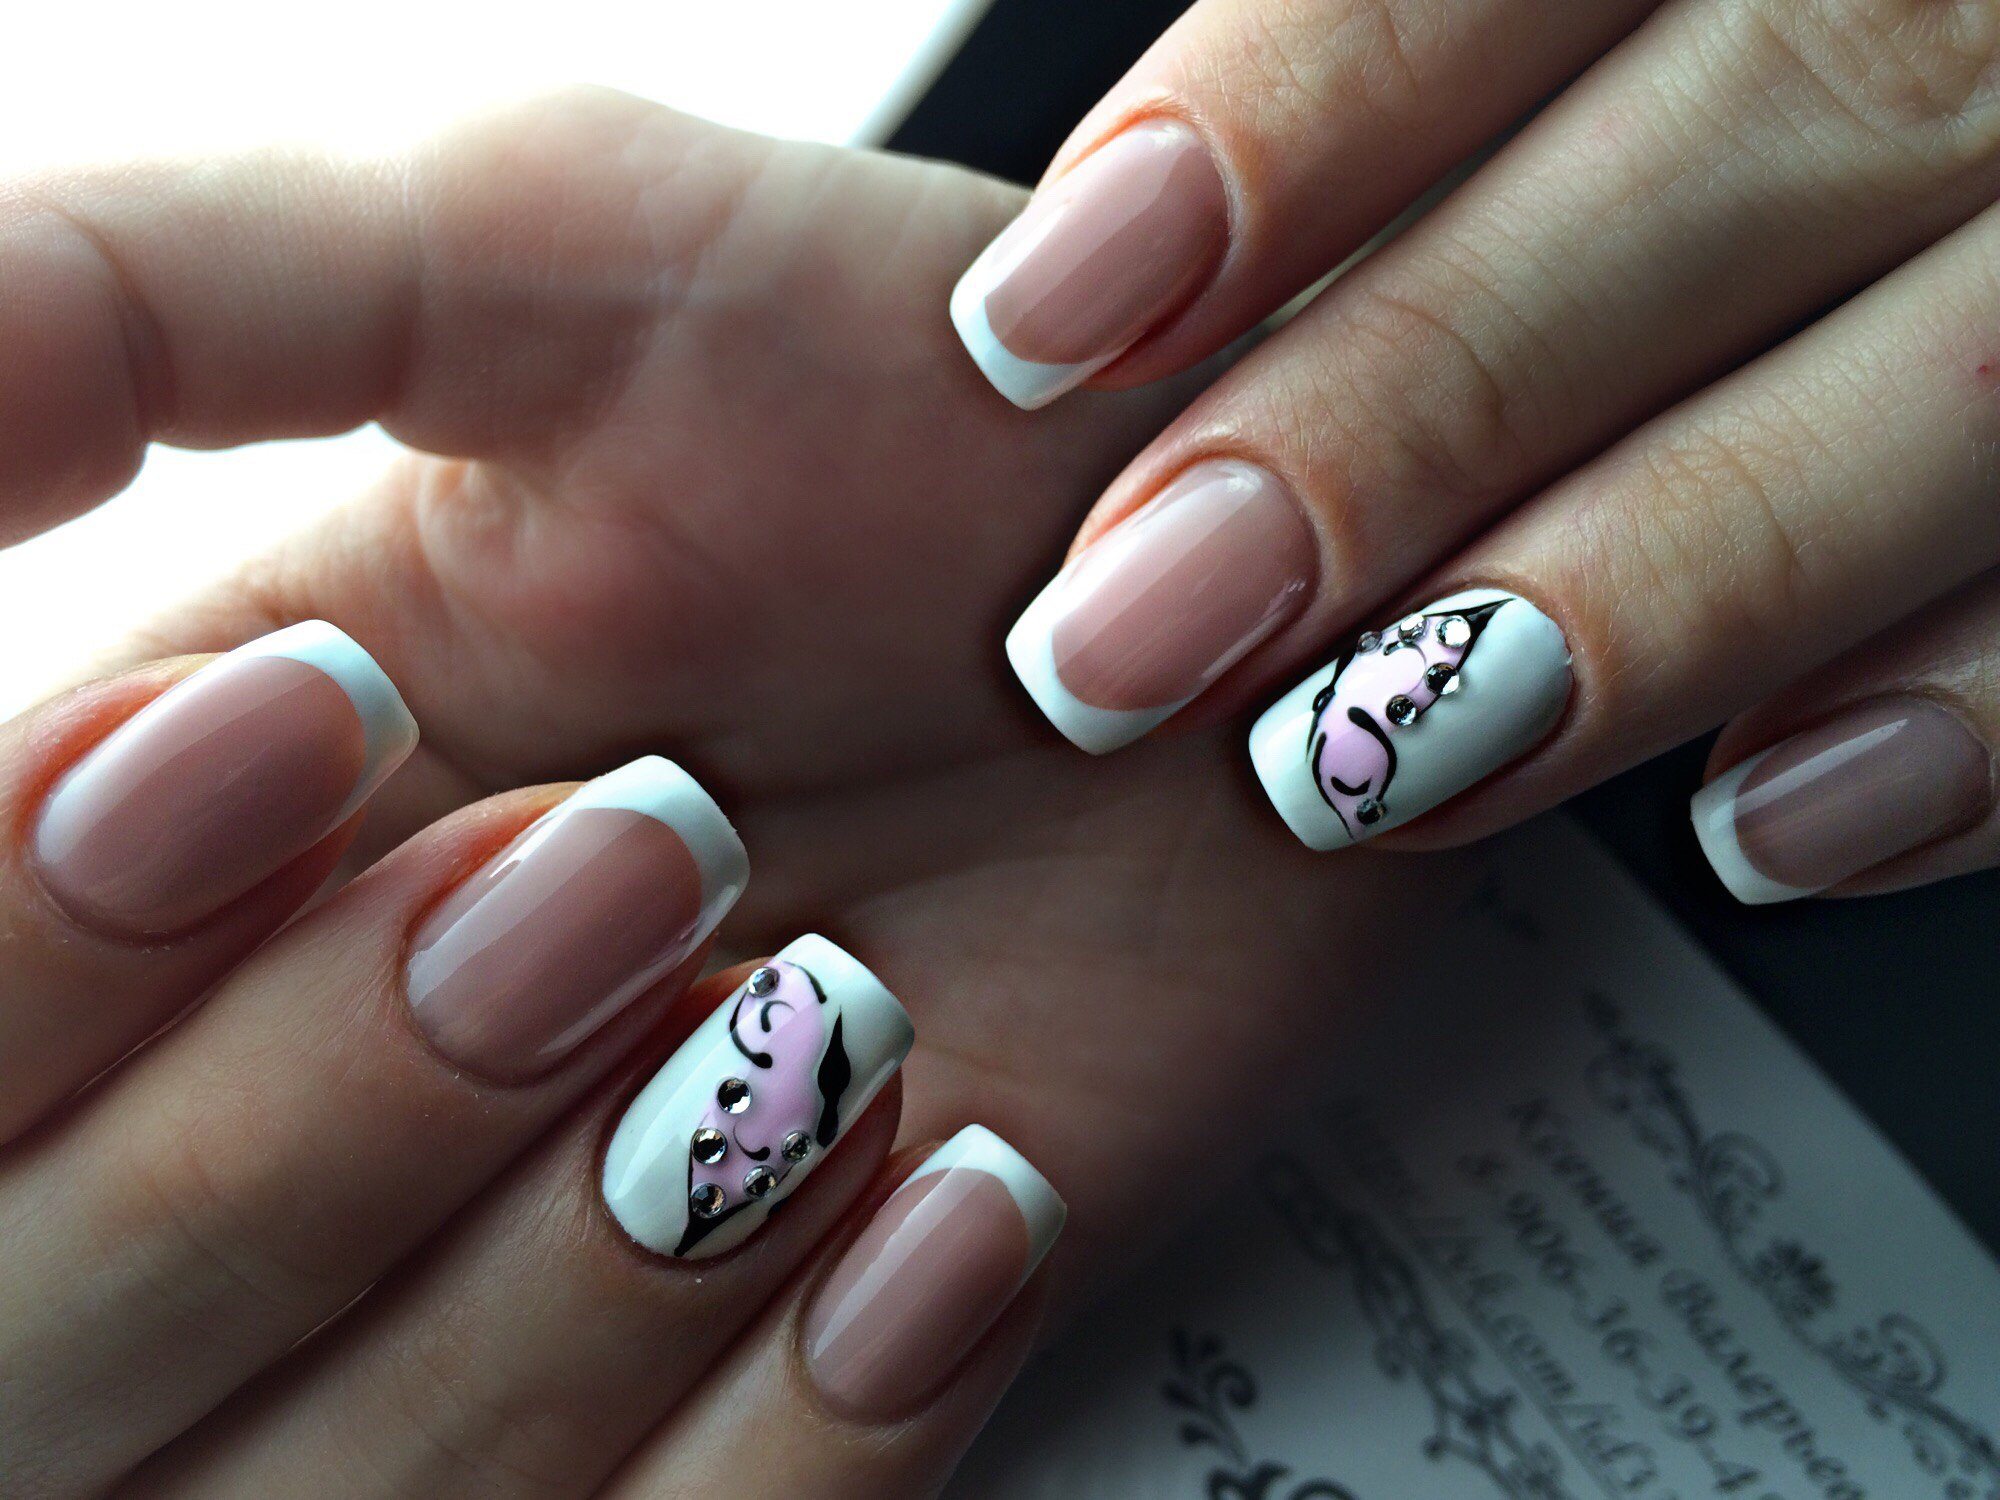
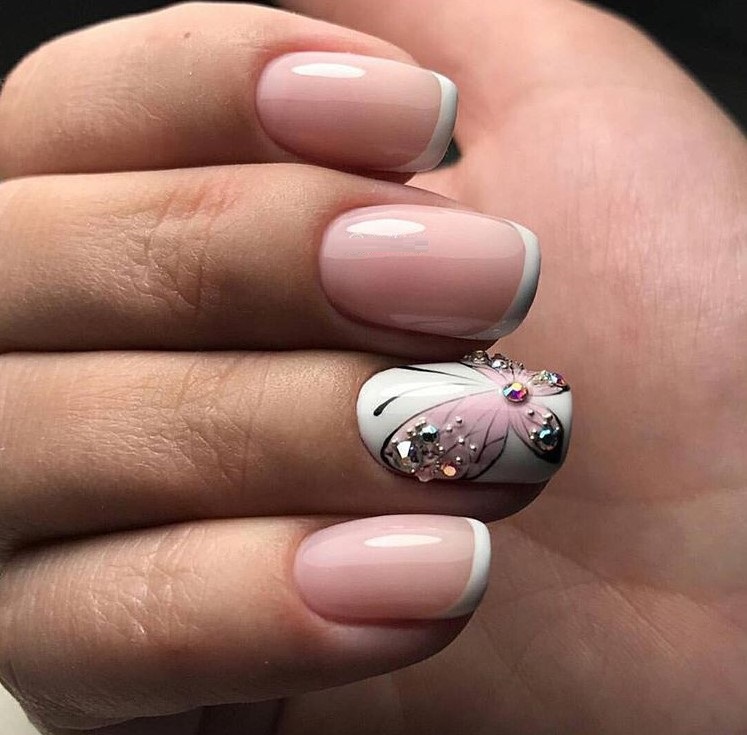
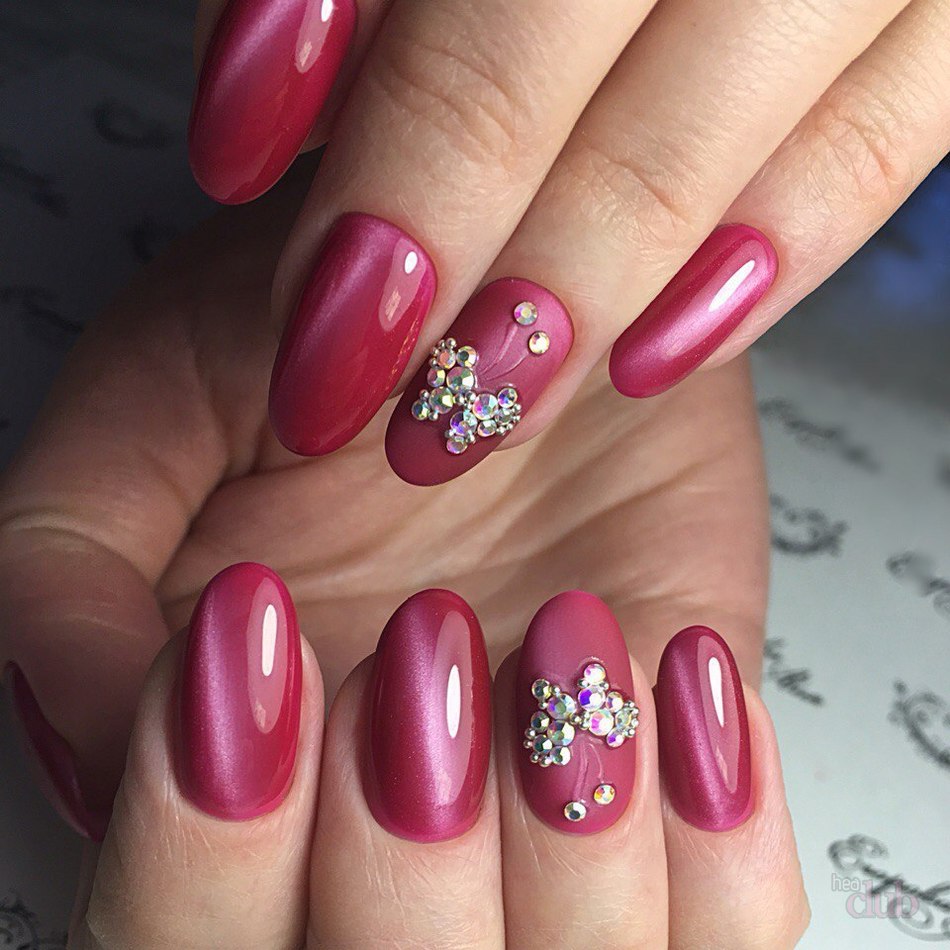
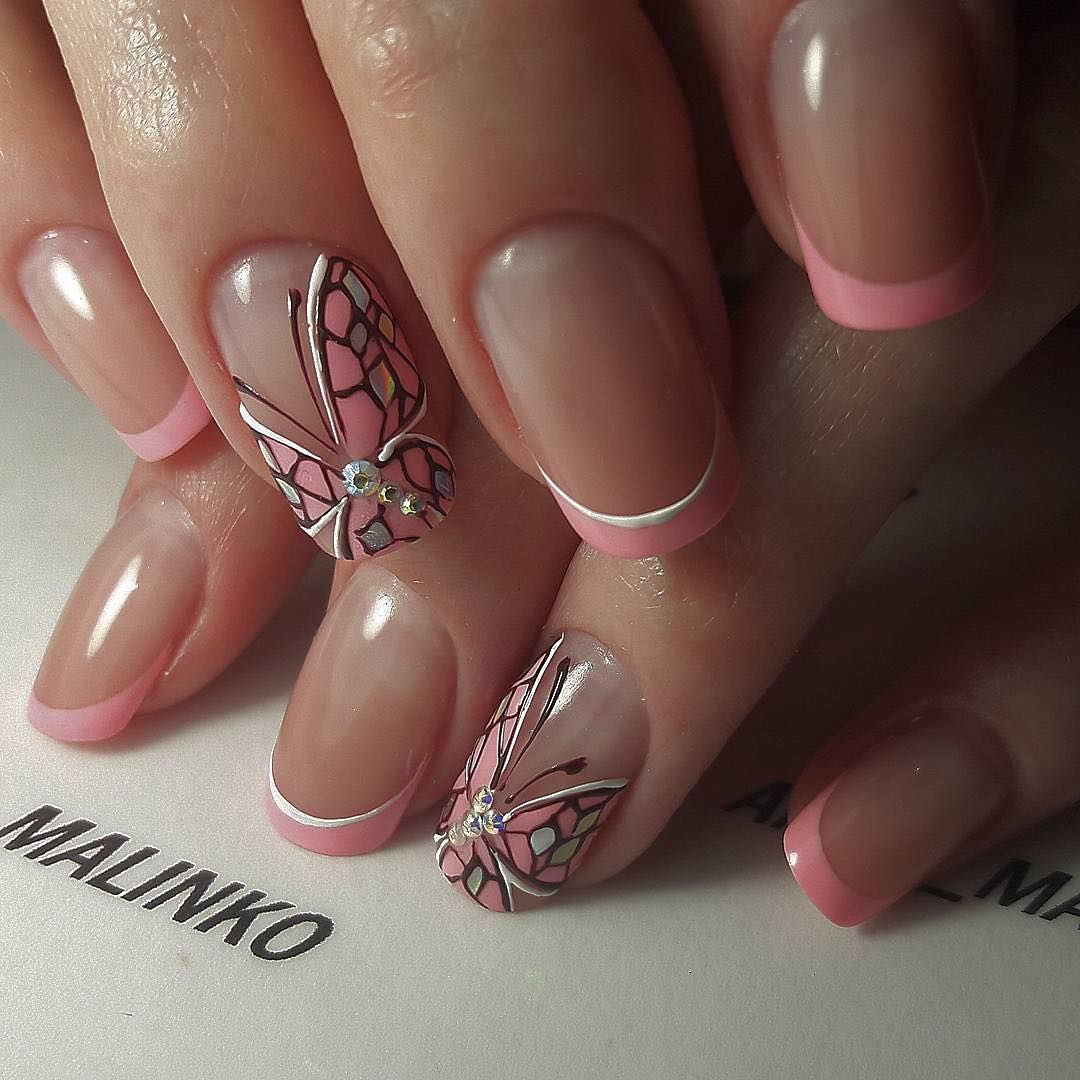
Pink
Decor in pink will create a romantic look. A large picture is placed on the marigold of the ring finger.
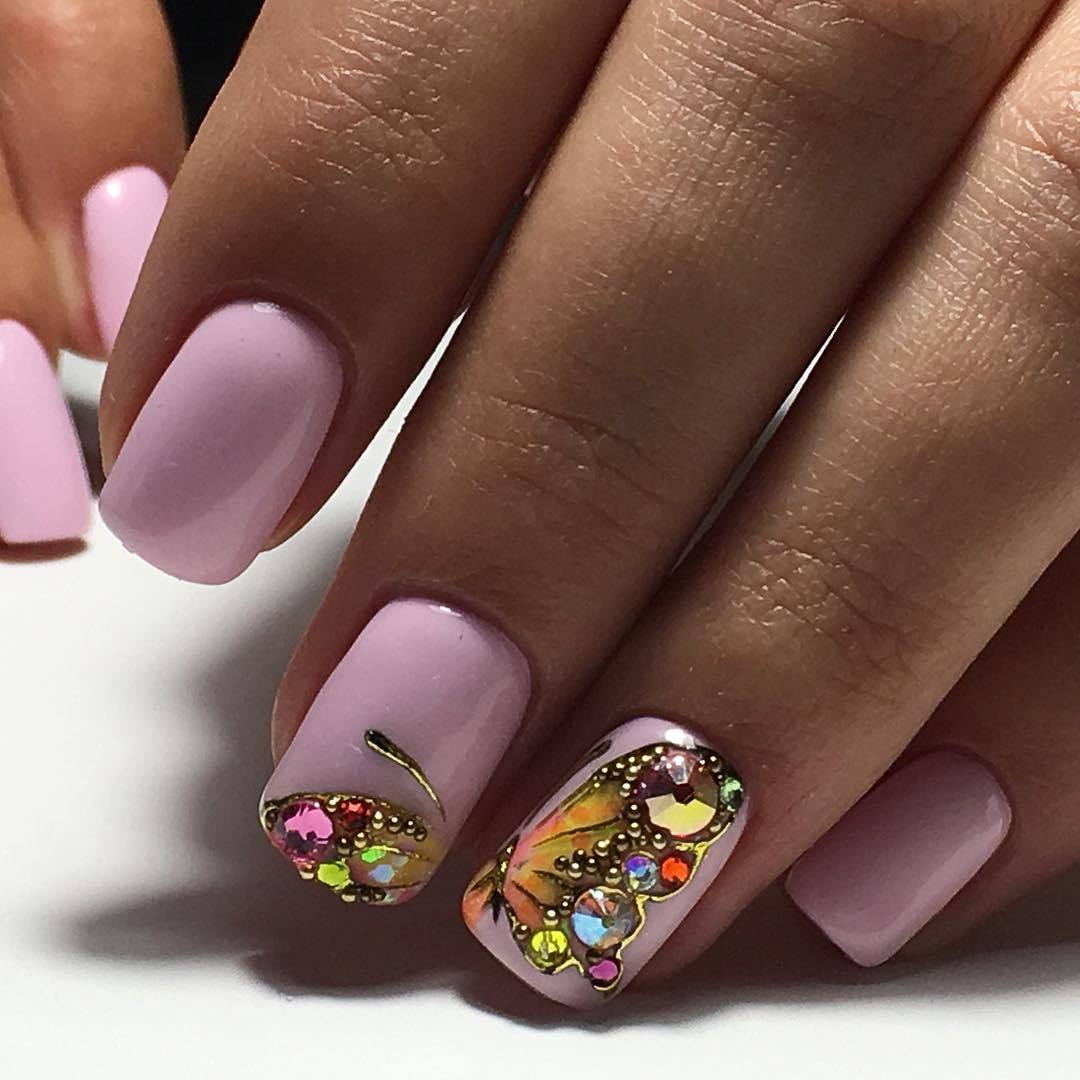
Thin contours are brought in. Rhinestones will give brightness and solemnity.
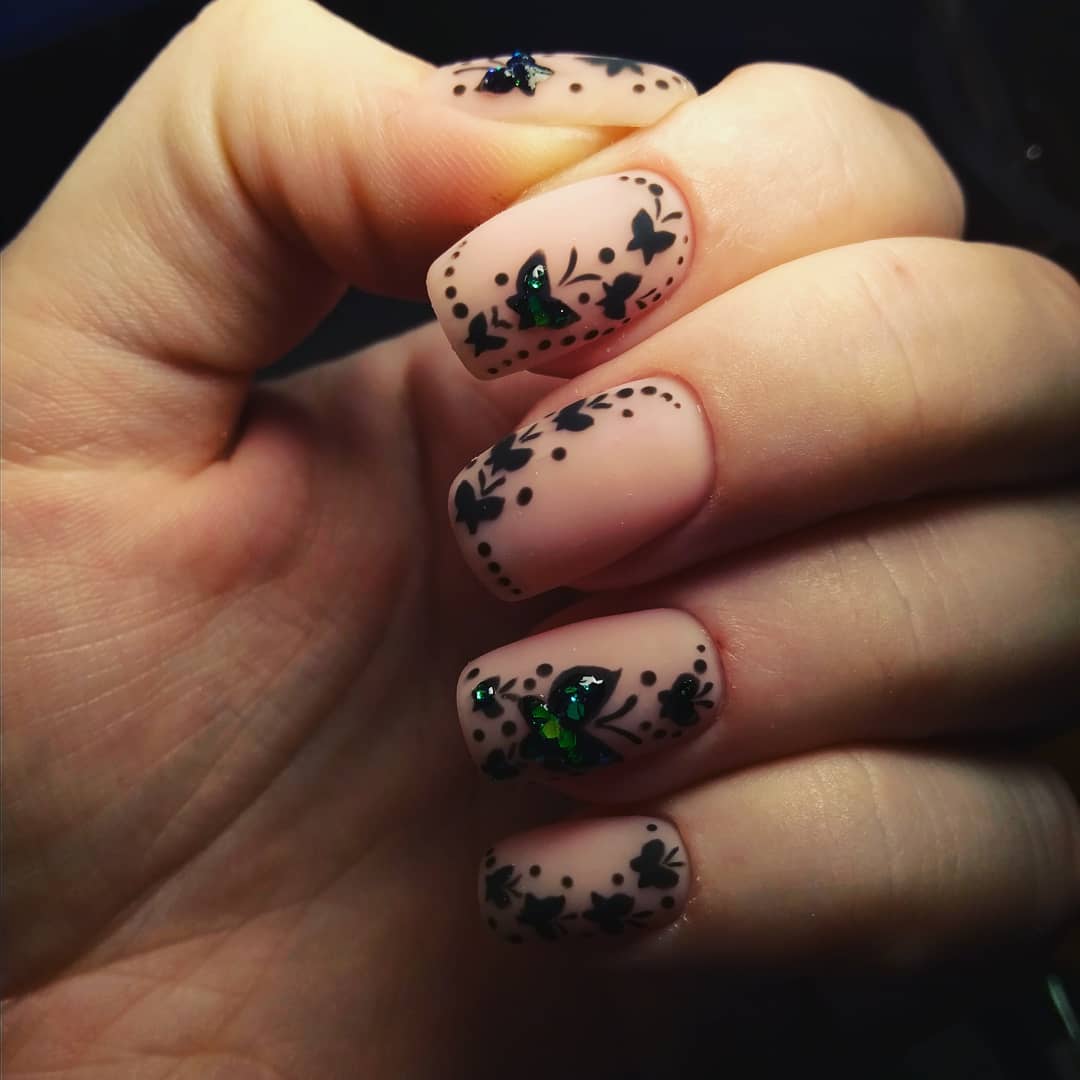
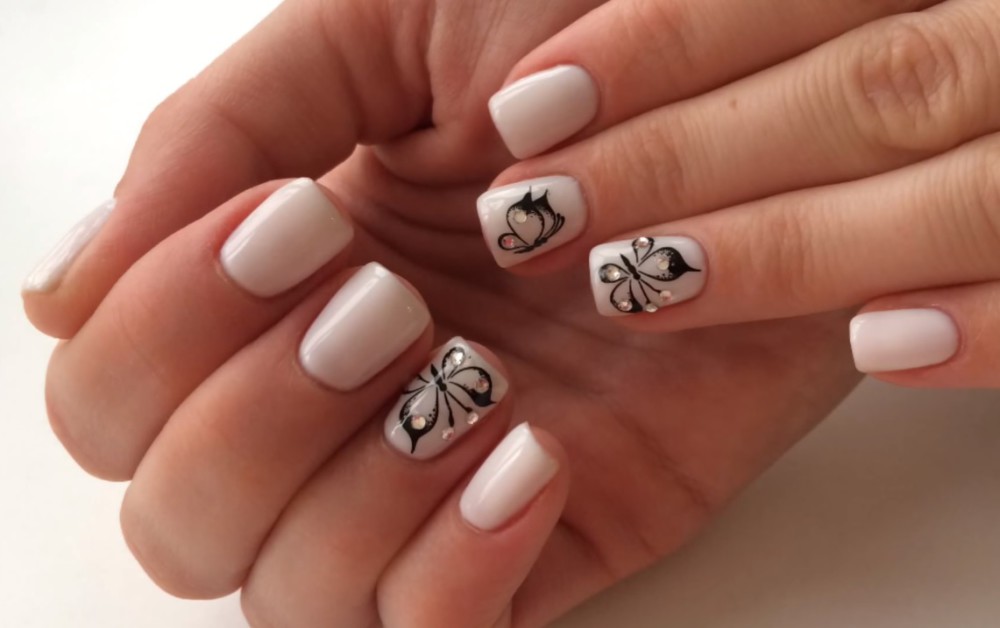
White
White never goes out of style, it looks fresh and stylish. Decorations done in white are delicate and natural. To make the art beautiful, use rich colors. Do you like strict classics?
And for you, there is also a solution, for example, a combination of black and white, or raspberry and white.
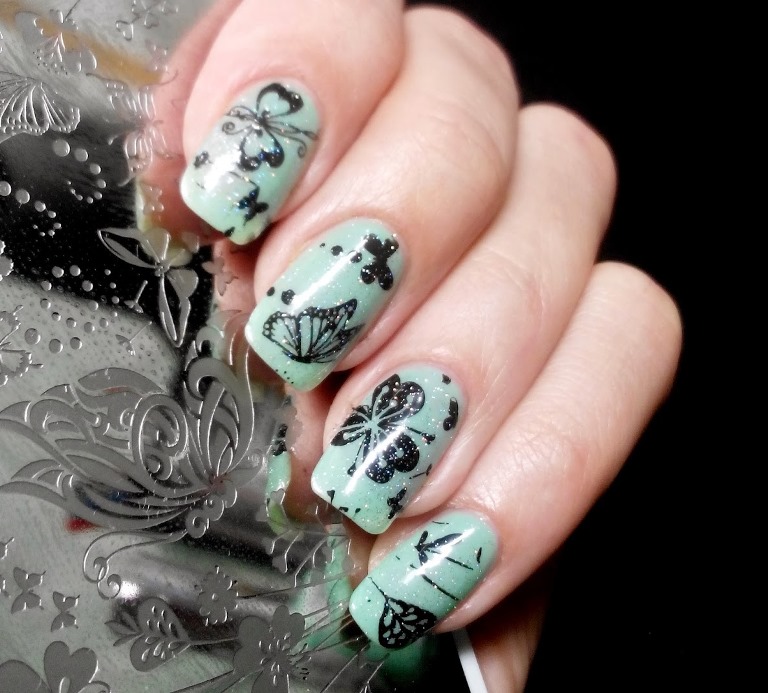
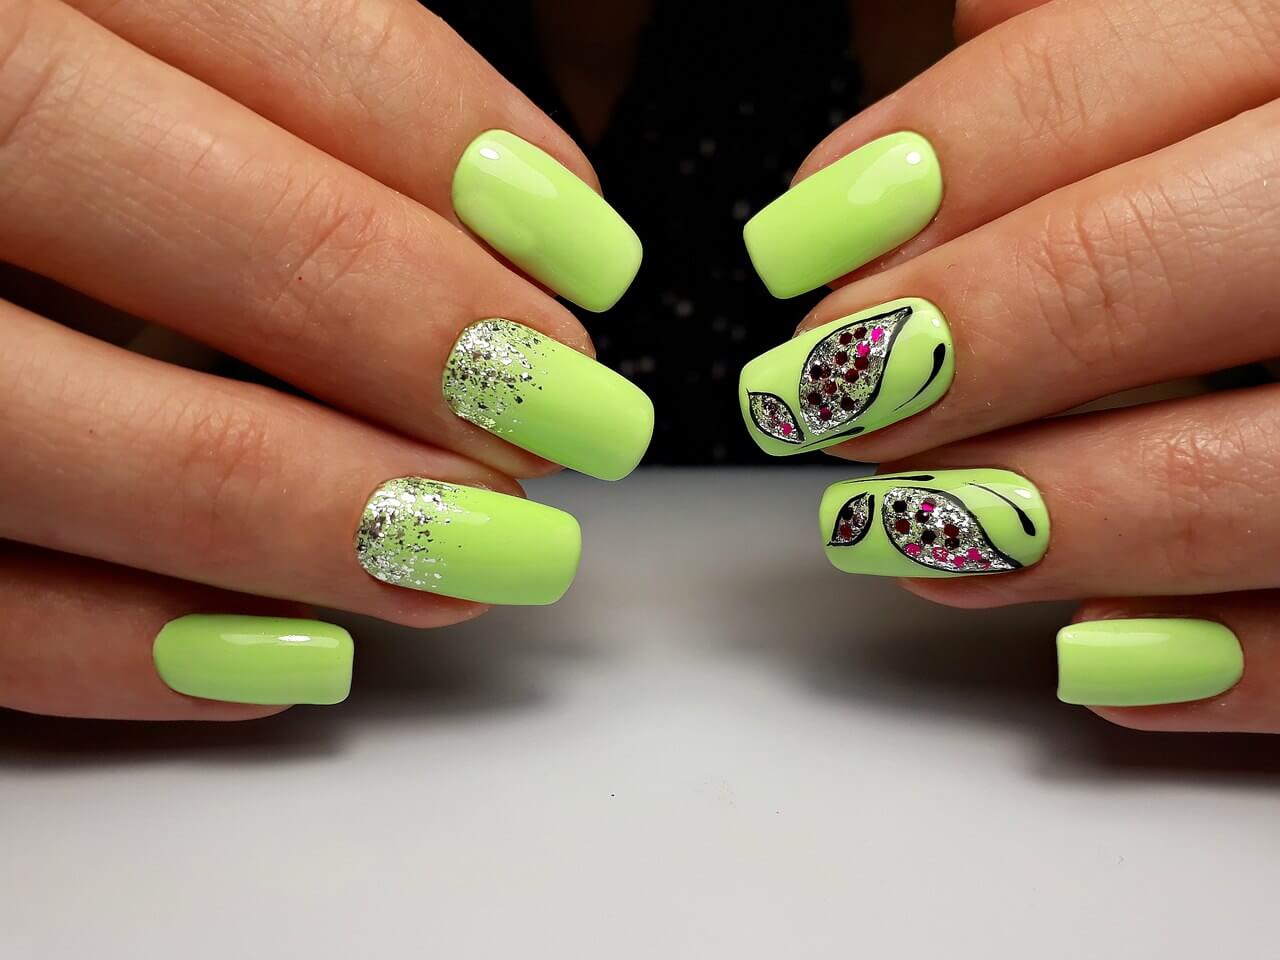
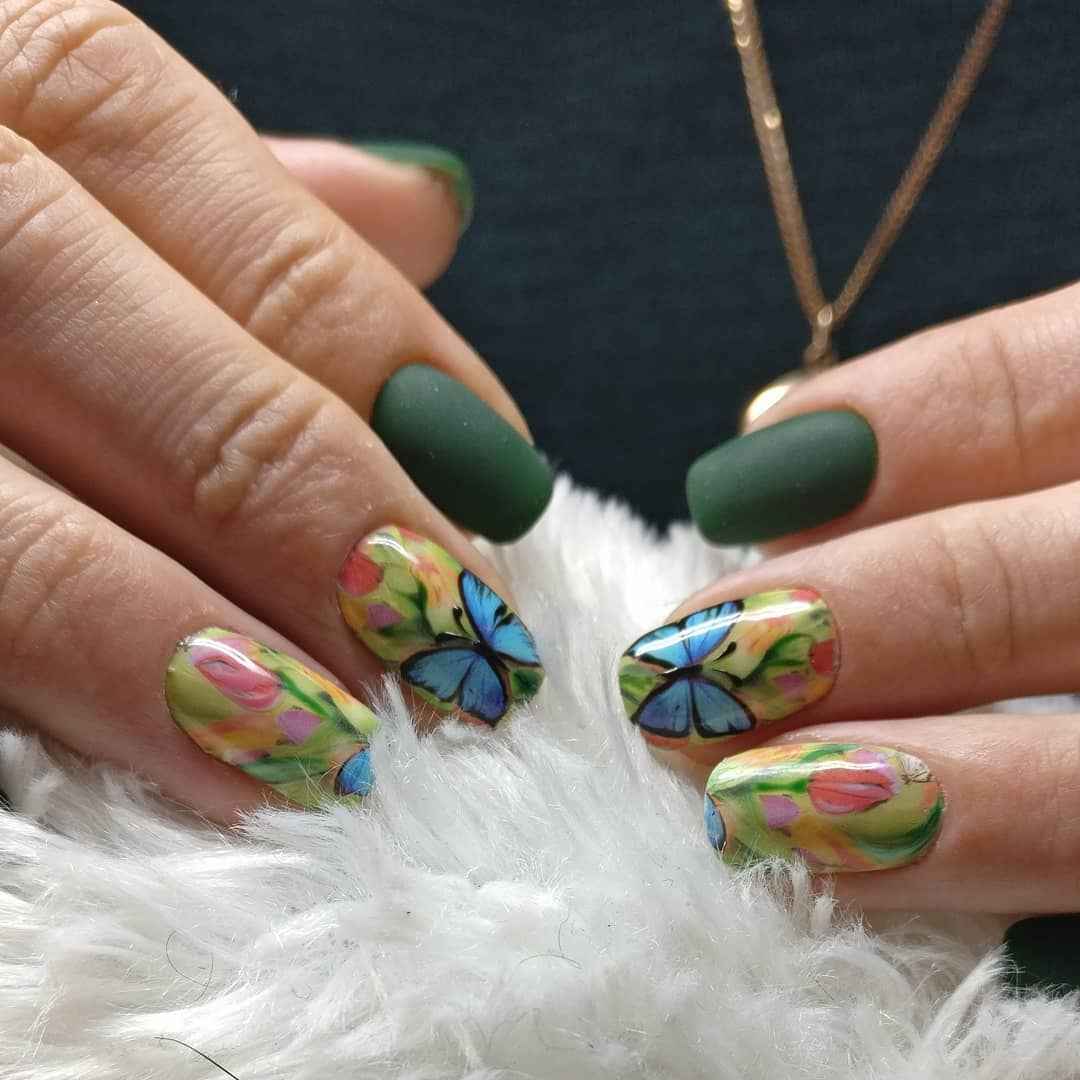
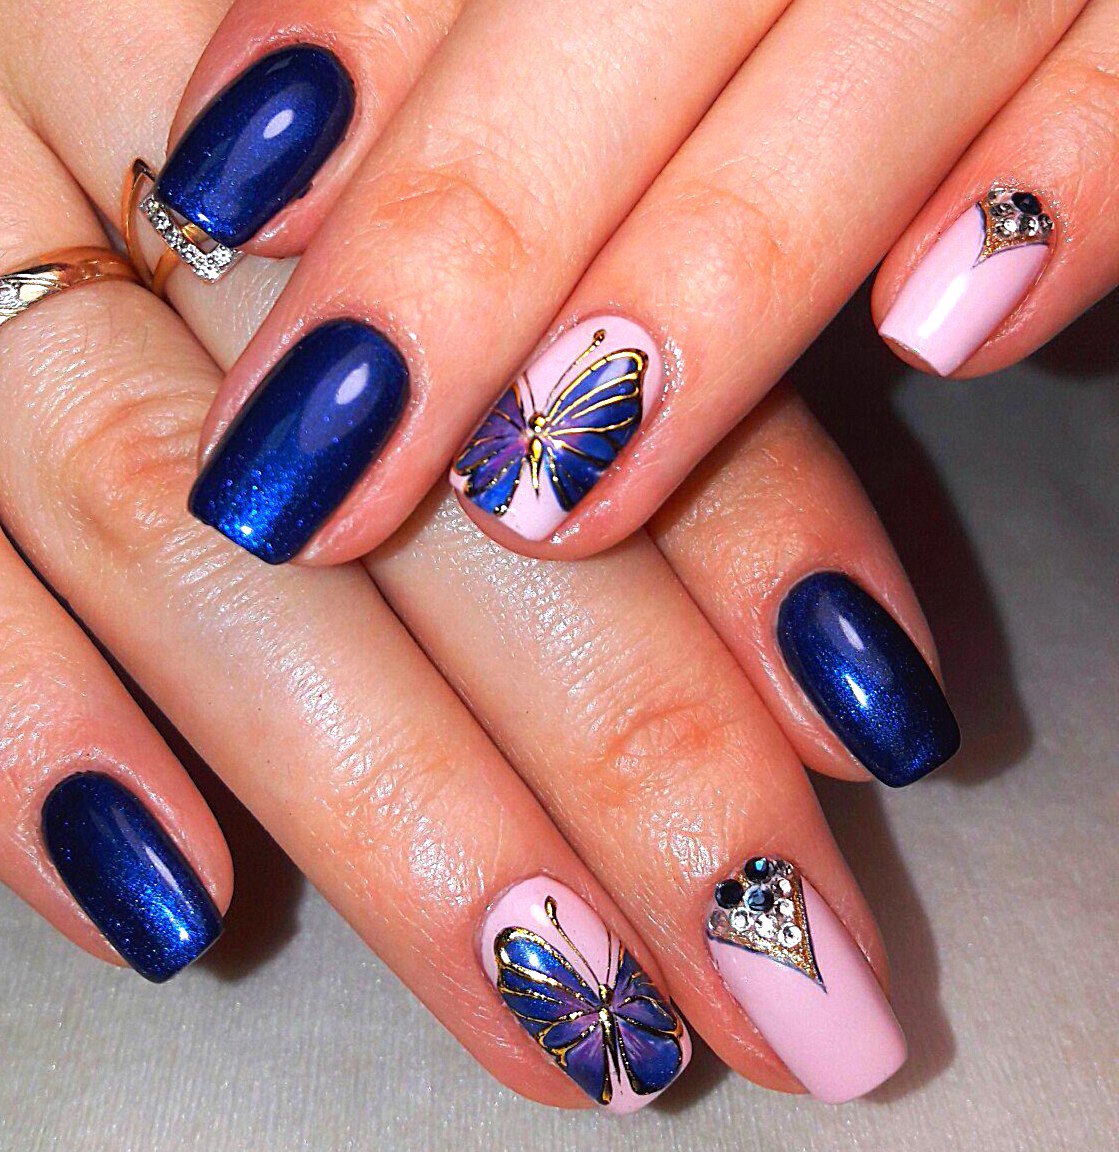
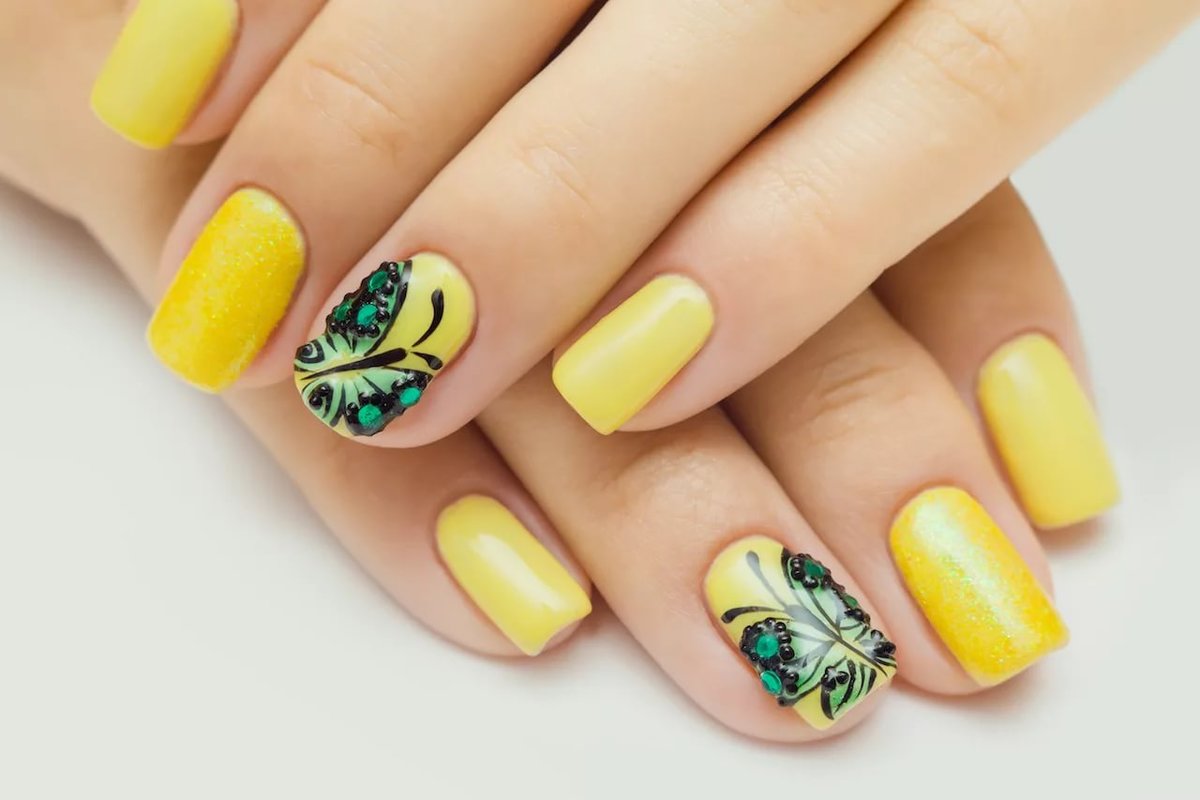
The youth trend of the season is blue, green, yellow.
Instruments
Manual drawing is performed with a set of brushes or dots with various types of attachments. Prepare a rubber tool to remove gel polish and wipe dry paint, align the outline. You can replace the dots with toothpicks.
For a professional design, use ready-made templates that are engraved with a pattern or stamping. This method shortens the drawing time by creating the base in the right place.
If you have chosen stamping, in addition to the plate, prepare a scraper with which you will remove excess and a roller to carry the image from the plate.
Also use a flat brush with slightly beveled edges and a thin hair brush.
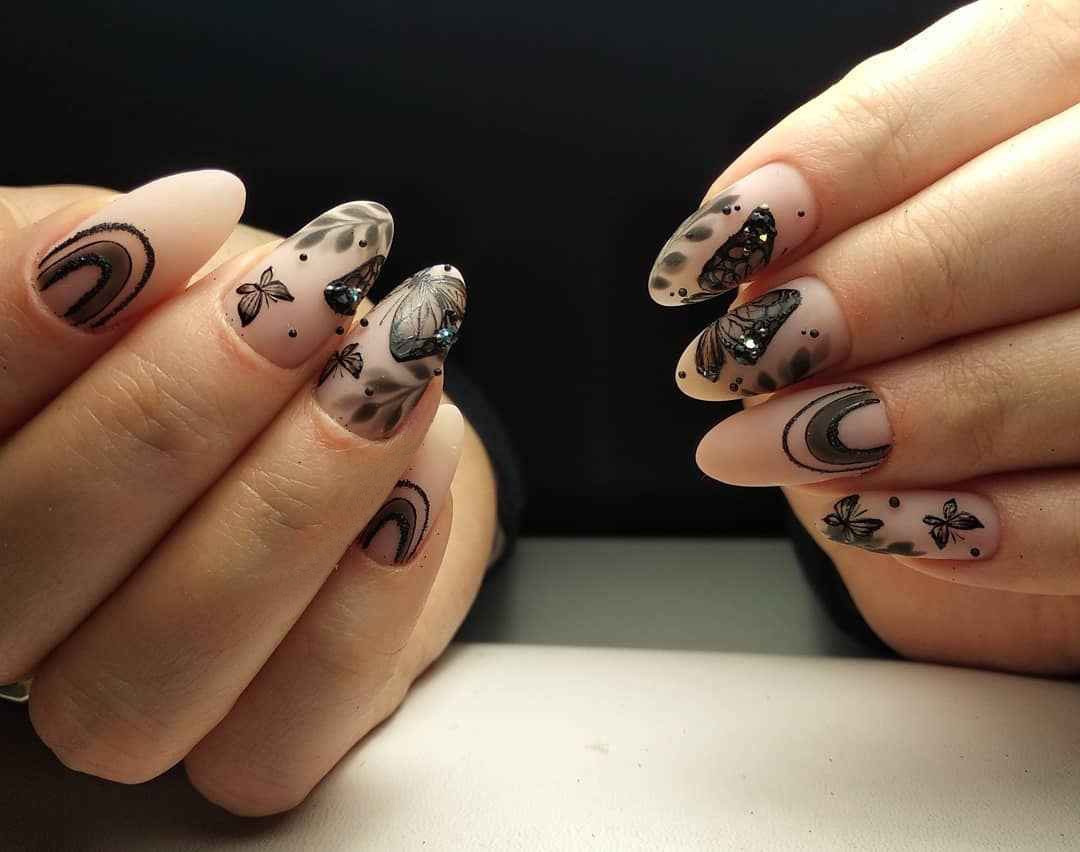
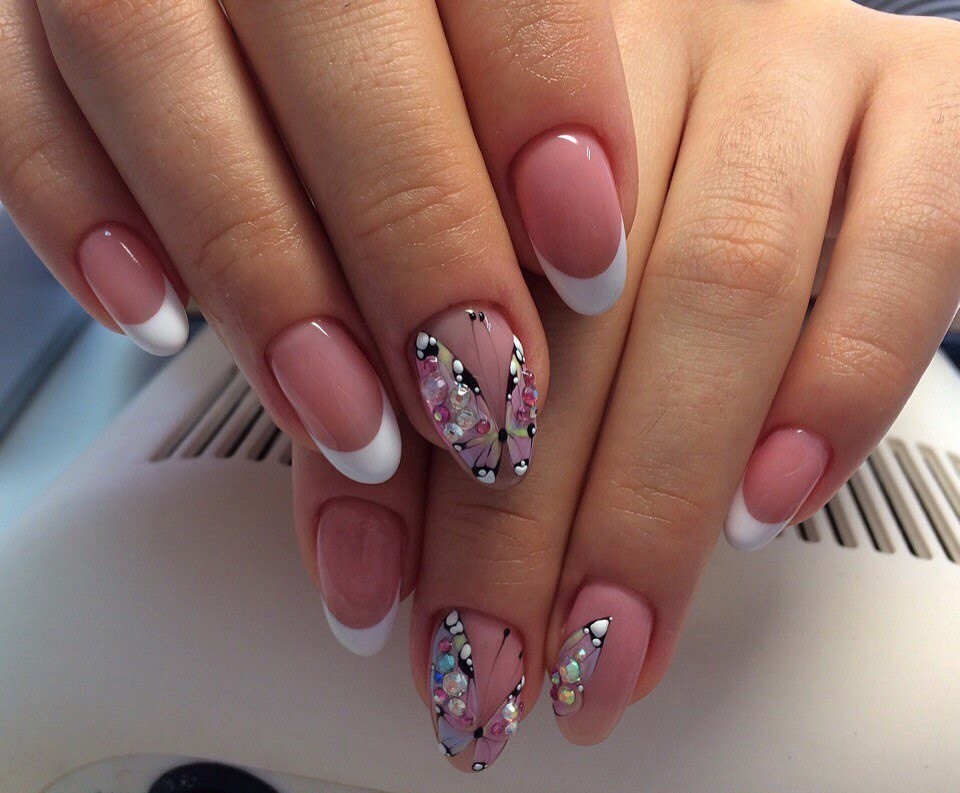
Trend 2019 - patterned wings
One option is patterned wings. It is not suitable for beginners, as certain skills are needed. The pattern looks advantageous when the base is of a monochromatic, unusual shade. An interesting and sophisticated coating with a gradient effect.
Having trouble creating a beautiful tone transition?
Don't despair, use magnetic varnish. A paddle equipped with a diagonal stripe will create a beautiful pattern, without the use of titanic efforts.
Step-by-step instruction
Nail art requires patience and perseverance, but after a few repetitions, you can easily handle it.
 We will tell you how to draw a figurine in a few simple steps:
- First, clean the nail plate and process the cuticle.
- Apply base in a neutral, muted tone. Beige and pink look good.
- Wait a while for it to dry and start applying the pattern. Take a small piece of cardboard by dropping two colors on it (for example, blue and white). Having mixed the shades, draw the wings.
- Ready? It's time to apply the contour. Take a thin brush, dip in brown or darker tone, and trace over the drawing. To make it more realistic, add small veins on the wings.
- Draw black dots with a dots or a toothpick - the body. Draw white peas in the center. Draw the antennae with a thin brush.
- To add brightness, decorate with rhinestones or sequins. Cover with fixing varnish - this way the art will last longer.
And a video for clarity:
Design nuances with gel polish
Gel polish is more resistant, good to lie down, but it needs drying with an ultraviolet lamp. To do it at home, you need to have the right tools on hand.
 Let's describe the process in stages:
- First, prepare your nails by trimming the tips and trimming the cuticles. The plate must be lightly sanded and wiped with a disinfectant. Apply base, dry under lamp.
- Further gel polish for the base. The shade can be any, but it is better to stick to pastels to get a bright, voluminous element. Dry.
- Drop two colors onto a palette or cardboard, and dip the edges of the brush (each has its own side).
- After mixing, paint the wings with the gel polish. Dry and repeat again for emphasis. Sprinkle with sparkles, or decorate with rhinestones.
- Contour with a thin brush, paint the body and antennae in black or brown.
- Now it's the turn of the fixer and drying. After that, the work is completed.
We use shellac
Shellac is called a varnish of plastic texture, it is resistant to damage. A significant difference from the classics - shellac has almost no characteristic smell, it dries quickly and does not harm. It is easy to apply and produces a beautiful gloss.
The method of application, the same as with gel polish, will also require drying with an ultraviolet lamp. The created manicure will last a month and will look like the first day after visiting a beauty salon. There are two design options: apply a drawing on shellac or paint with it.
A few examples
On extended nails
This option has its own characteristics, let's talk about them in more detail:
- Bright elements are placed in the corner of the nail plate.
- The color should not be too saturated - apply the pattern on one finger, choosing a modest but interesting art, they attract attention.
- Draw the little finger first. This way the work looks complete, even if something doesn't go according to plan.
- Sequins and rhinestones will make the look more attractive.
- The main color is done with gel polish.

To complete the decor on the extended nails, you will need:
- Several varnishes.
- Needle.
- Fixer.
You need good lighting. Use a larger needle to create large pieces or dots, and a thin one for small pieces.
The option is suitable for both short and long nails.
- The process begins with the application of the base.
- When it's dry, apply the pattern.
- Secure.
Short length
Many girls face a problem when their nails break and cannot grow to the desired size. However, this does not mean at all that you need to limit yourself to a monochromatic manicure.
The drawing can be placed in this case as well.
- A butterfly on short stubs "sits" on the free edge of the nail. This simple technique will visually lengthen your fingers.
- To visually narrow the nail plate, use a few dark tones.
- When applying the element to a colored base, leave one millimeter unpainted on each side.
- If your nails are short and square, clear lines fit. For other shapes, they should be blurry and smooth.
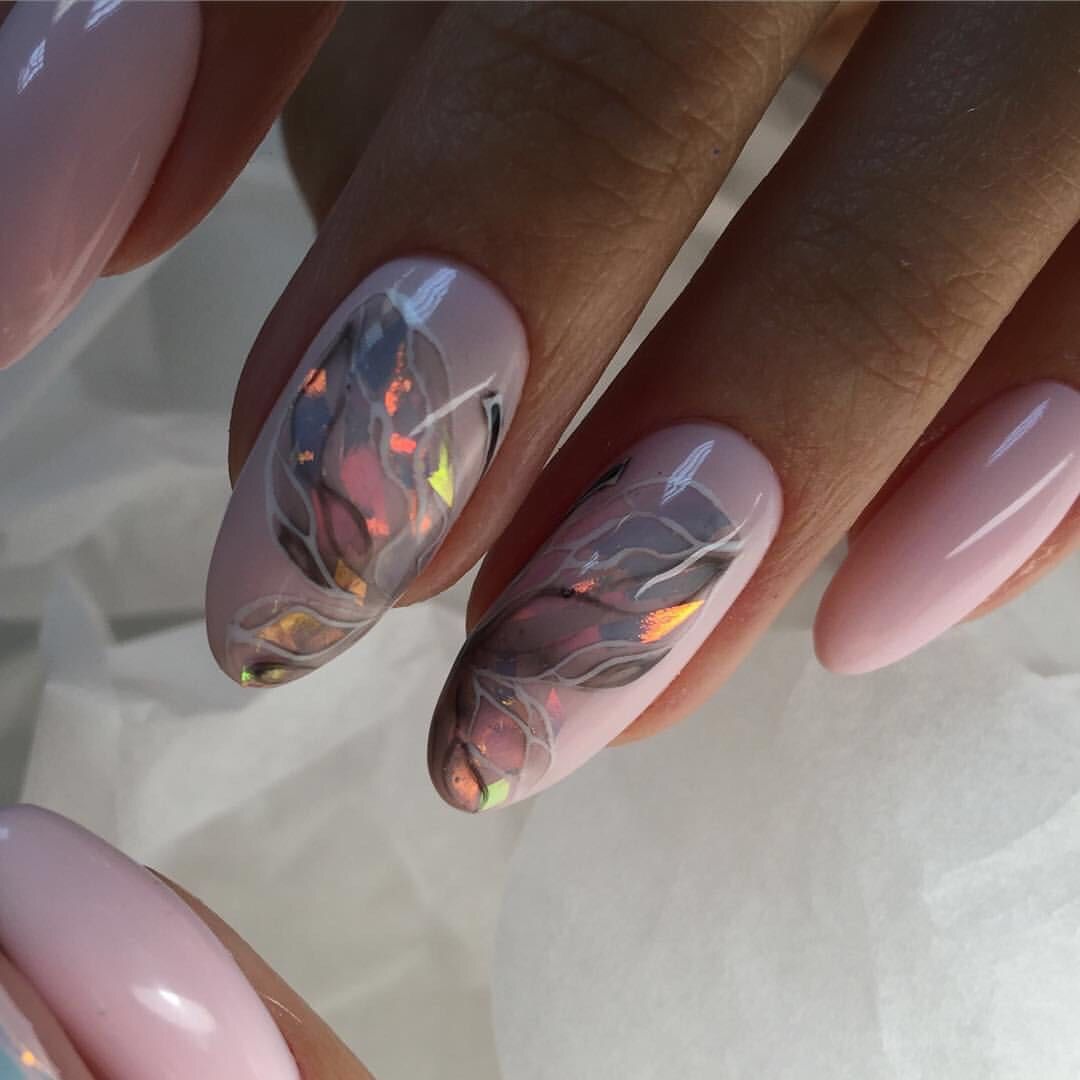
Broken glass technique
Original, attractive design, trendy this season. No stones or diamond dust needed. Buy a special film, if not, plain foil will do.
Let's consider the process in stages:
- Cut the foil into small pieces.
- Choose a color scheme and fixer.
- Apply base, dry.
- Apply base gel polish.
- Until the base is dry, glue the foil with tweezers, forming wings.
- Use a dark outline to shape the antennae and body.
- Dry and secure.
A simple option for beginners
We offer a simple idea of how you can do it without going to the salon:
- First you need to prepare. shape the nails, peel, file, remove the cuticle, grind.
- Now it's the base's turn.
- After drying, a picture is formed. Dip the tip of a toothpick into black, placing the body - several points. Draw wings and antennae around.
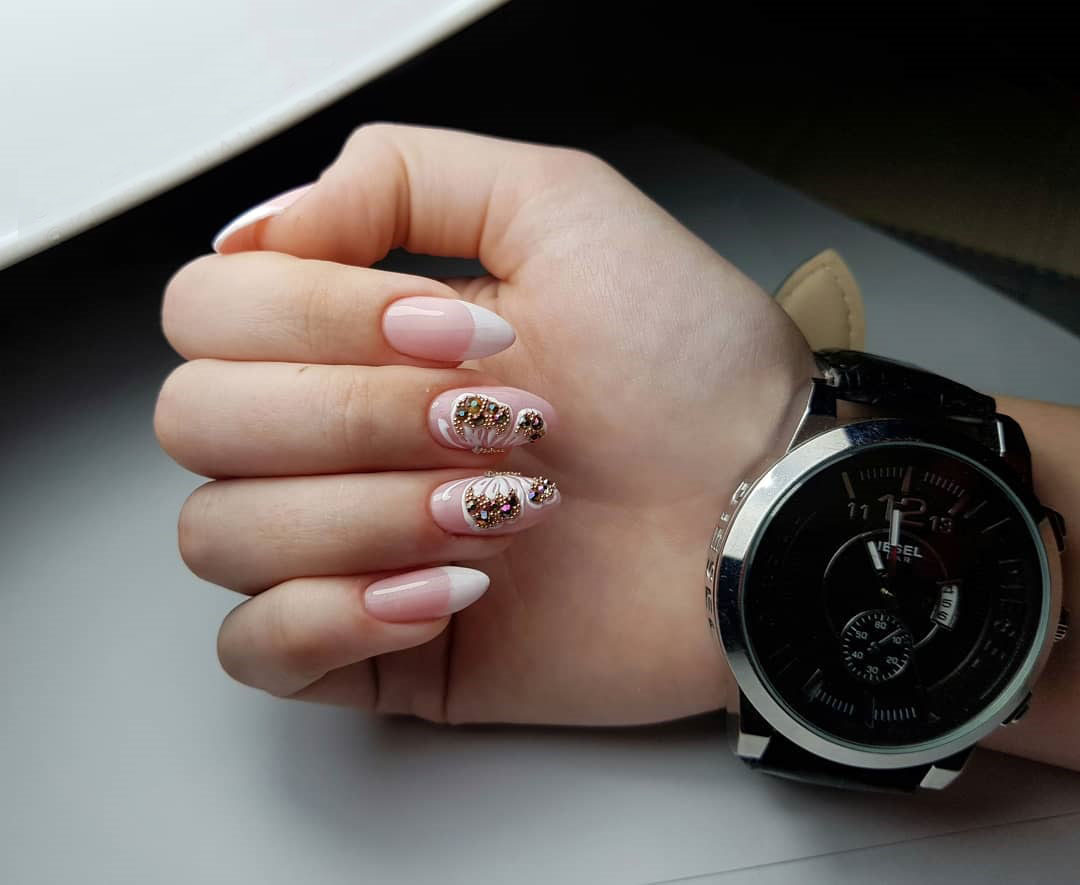
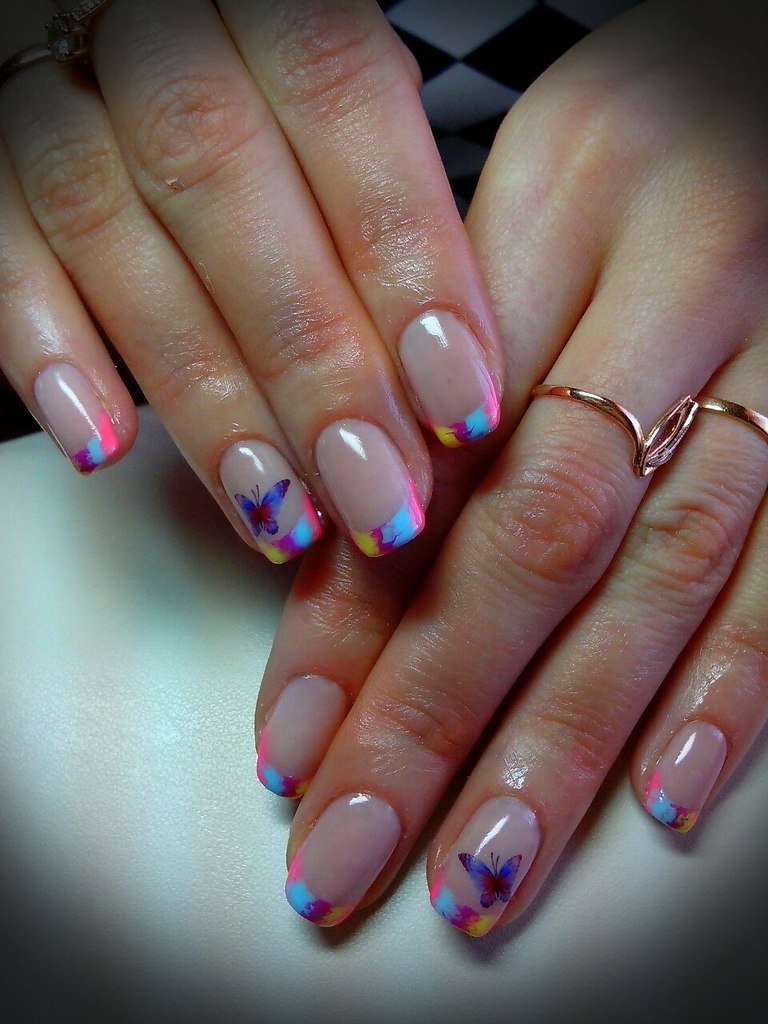
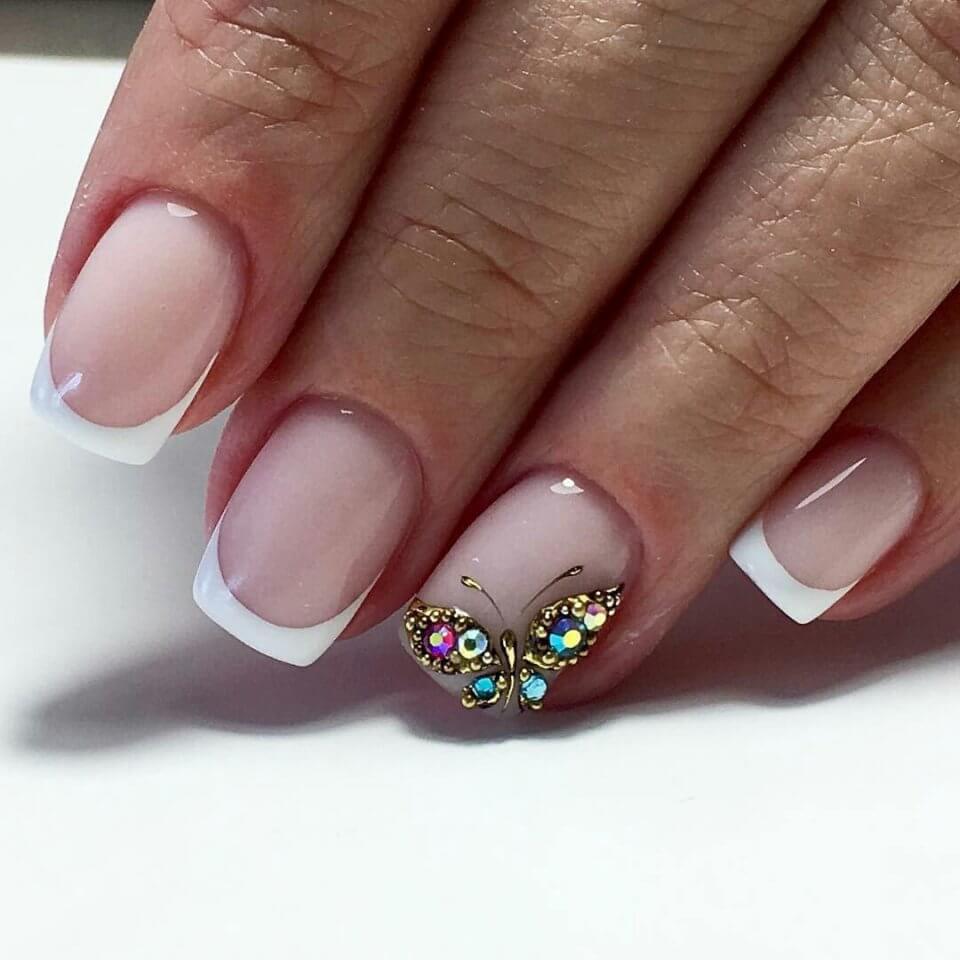
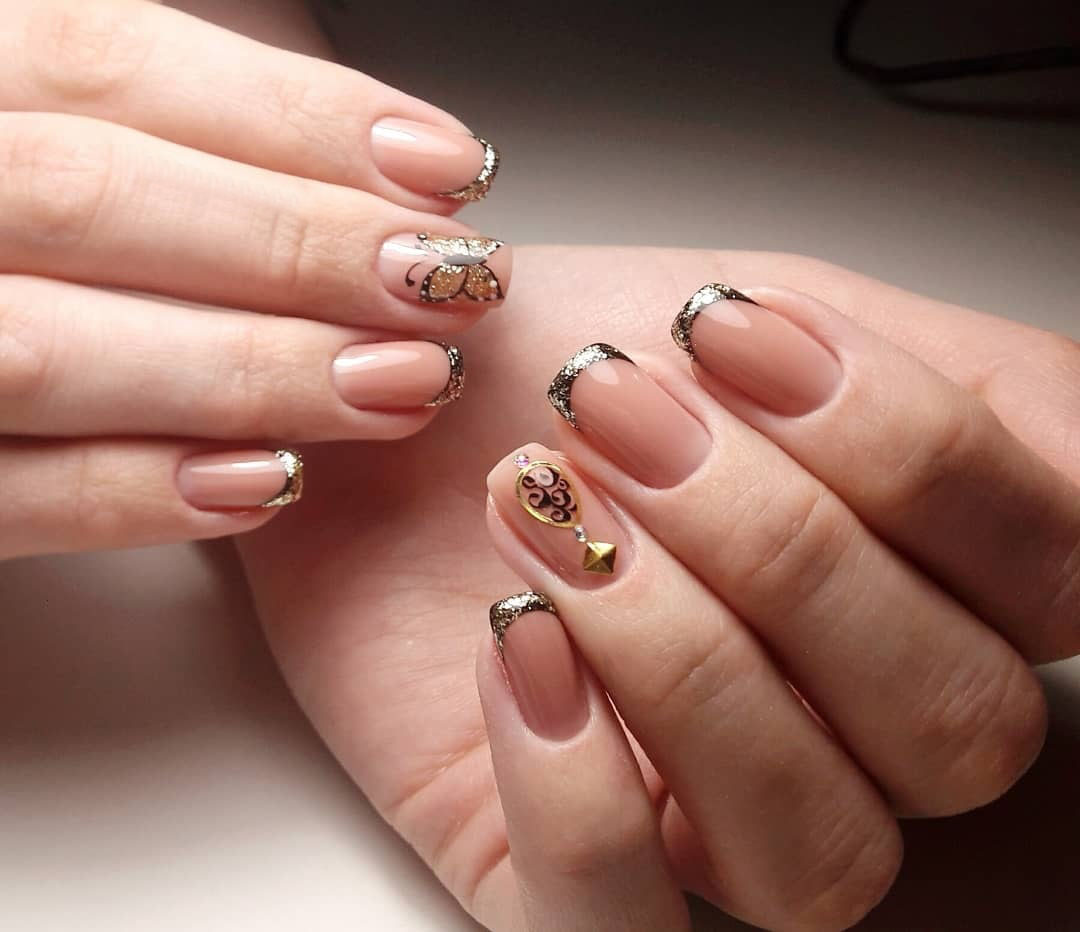
French style
Speaking of manicure, you cannot ignore the jacket. The restrained jacket looks impressive and is liked not only by women of fashion, but also by the environment.
- Take a base, a wide brush varnishes, glitters, fixer.
- Apply base. Paint over the tip of the nail with white, pink, or beige. Dry, add an extra layer.
- Draw the image. In several tones, draw wings, draw a black outline, attach rhinestones or sparkles.
- Secure.
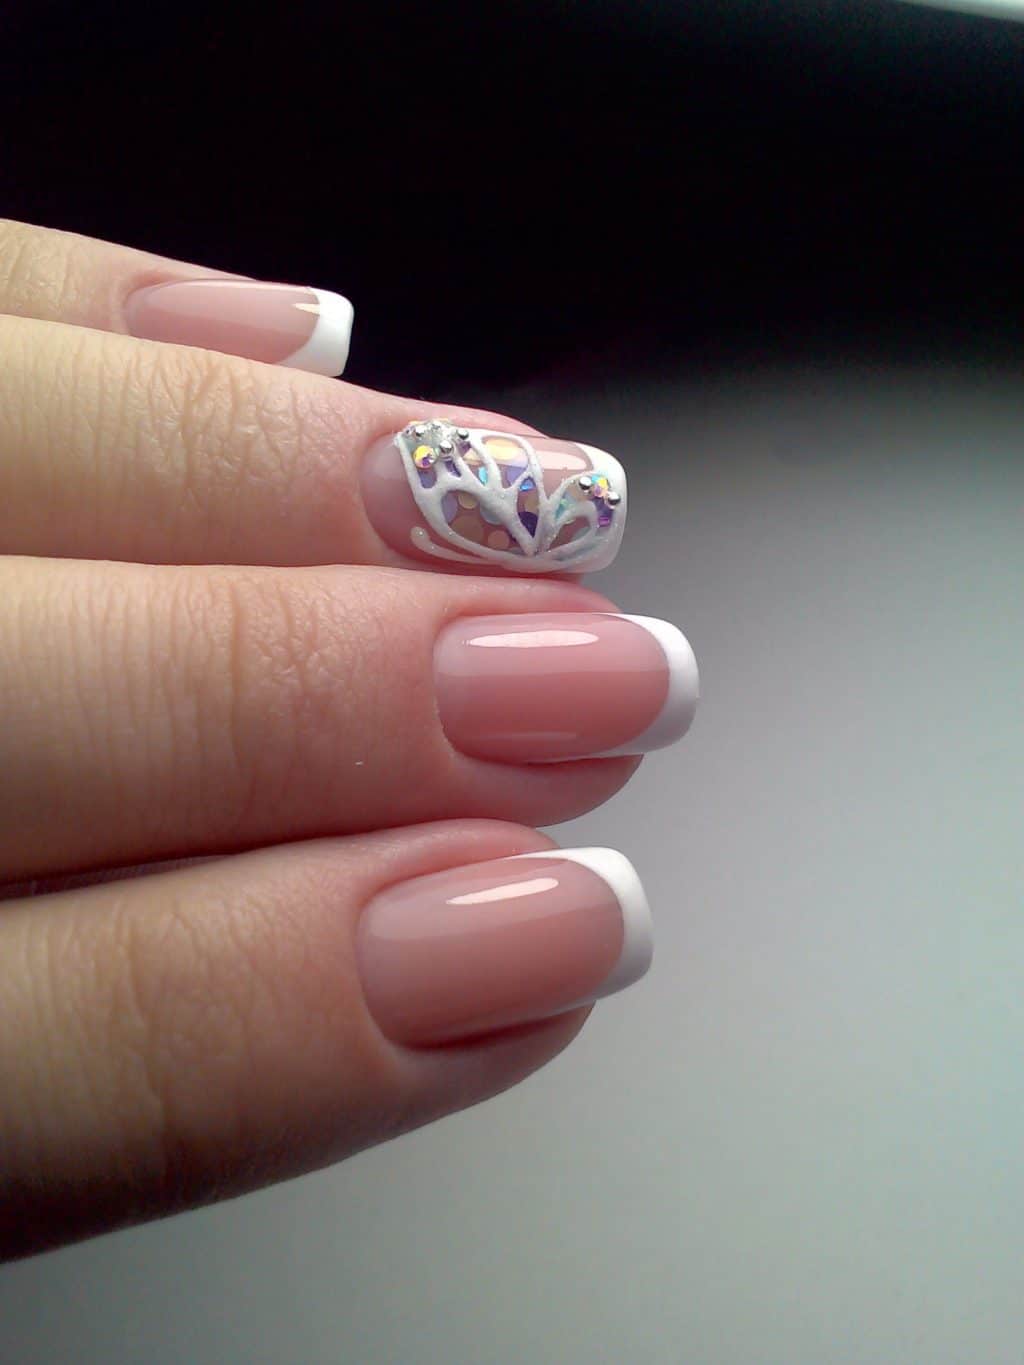
French can be performed not only on a single-color base. One of the trends of the season is a mint shade with golden edging. If there is no gold, replace it with silver. Cover with white or pink.
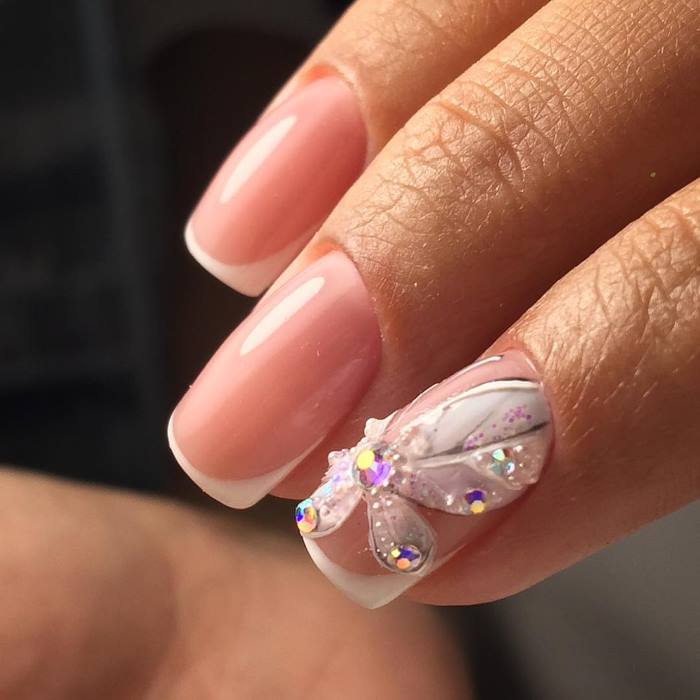
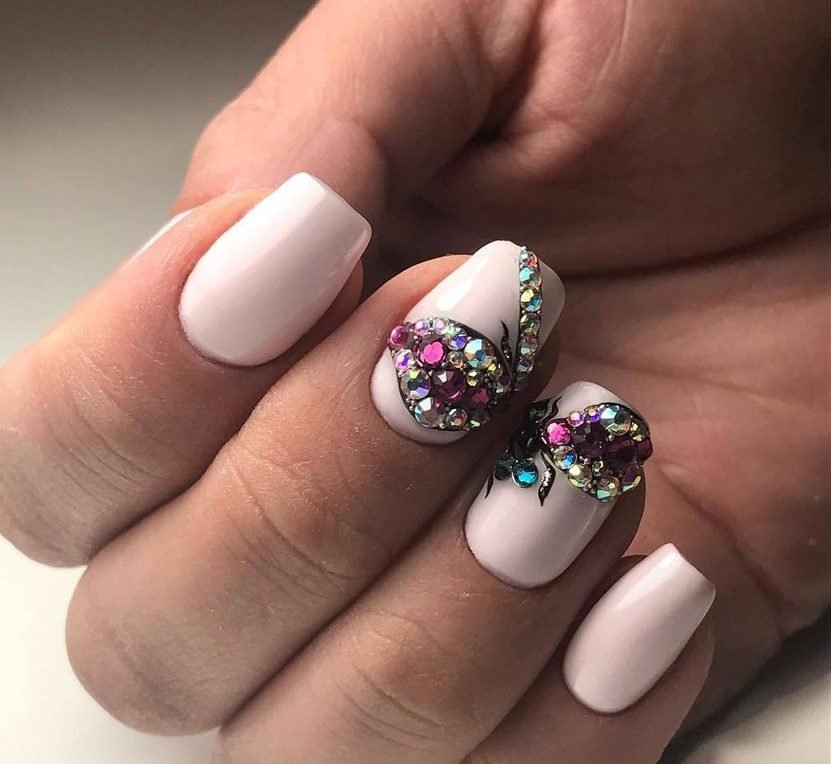
With rhinestones
You can not only complement the decor with several rhinestones, but also make up a complete composition or part of them.
To keep such a manicure firmly, each of the rhinestones is fixed with a fixer and a thin brush and dried in a lamp. Then it lasts longer.
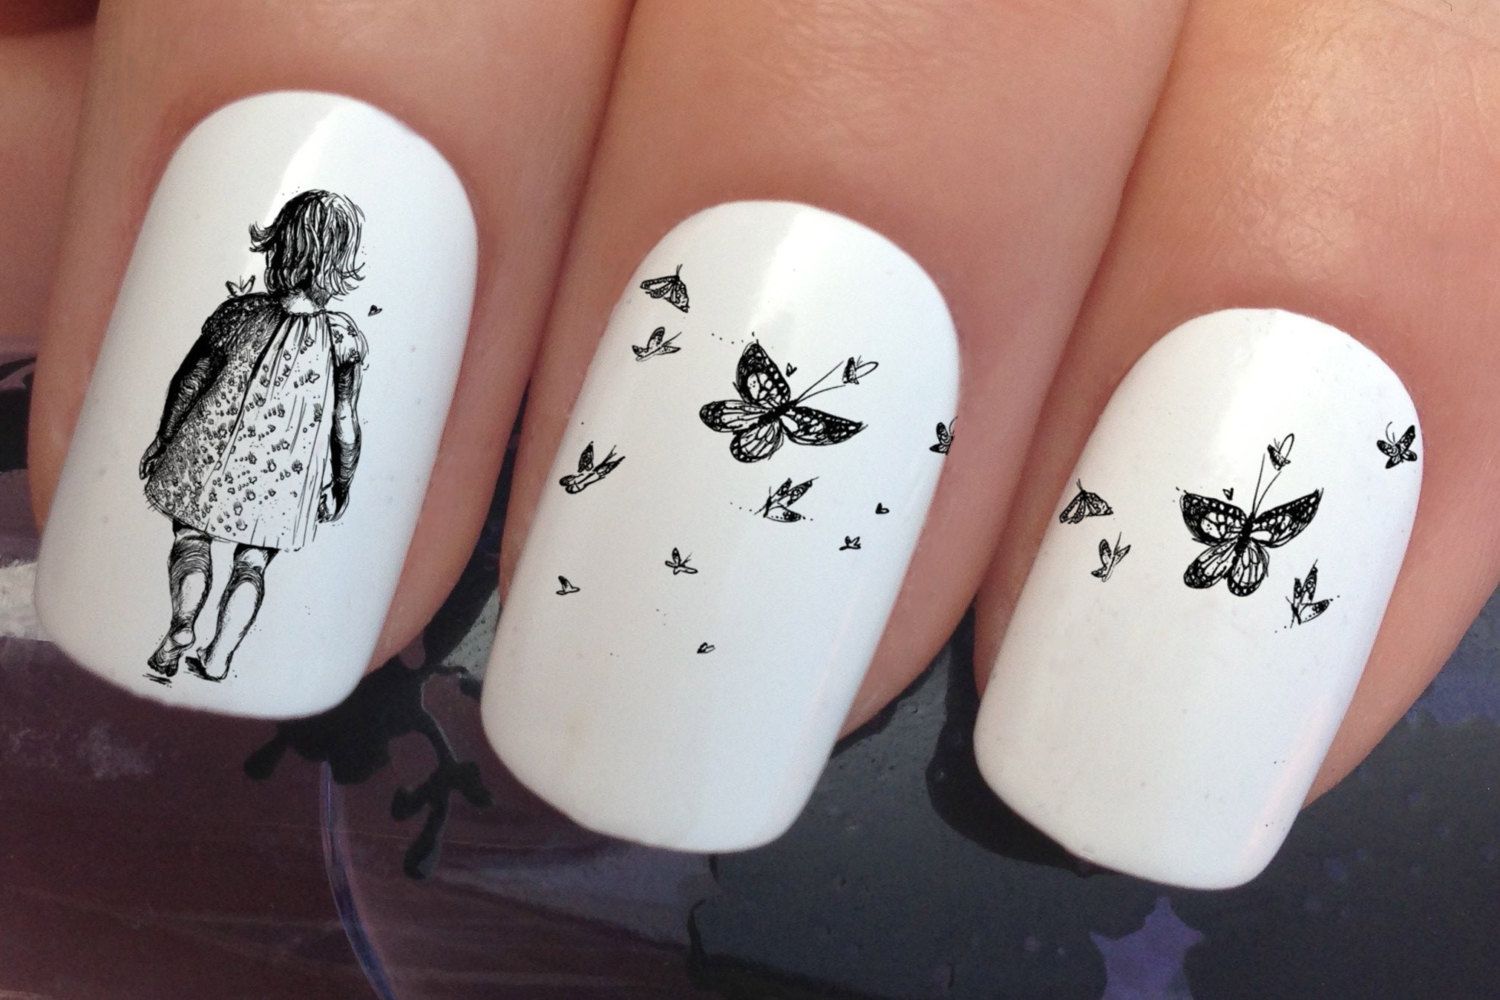
Stickers
Stickers are a great way out if you don't know how to draw, but want an interesting version of a manicure with a pattern. They do not require skills and abilities.
It is enough to paint them with any varnish and stick the sticker. Cover them with fixer to keep them in place for longer.
And more beautiful ideas
Do you agree with this summer's fashion trends? Tell us which of the ideas for decorating a summer manicure do you like best, what colors do you use? Share your answers in the comments.
For a step-by-step lesson, see the video below: